


Your cart is currently empty.


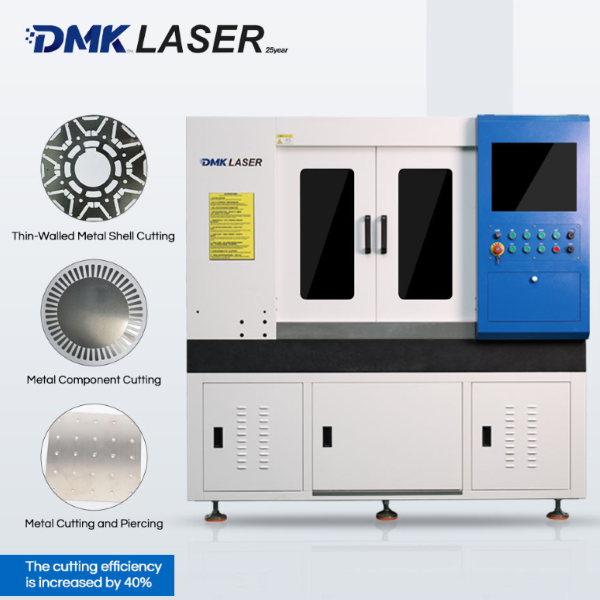
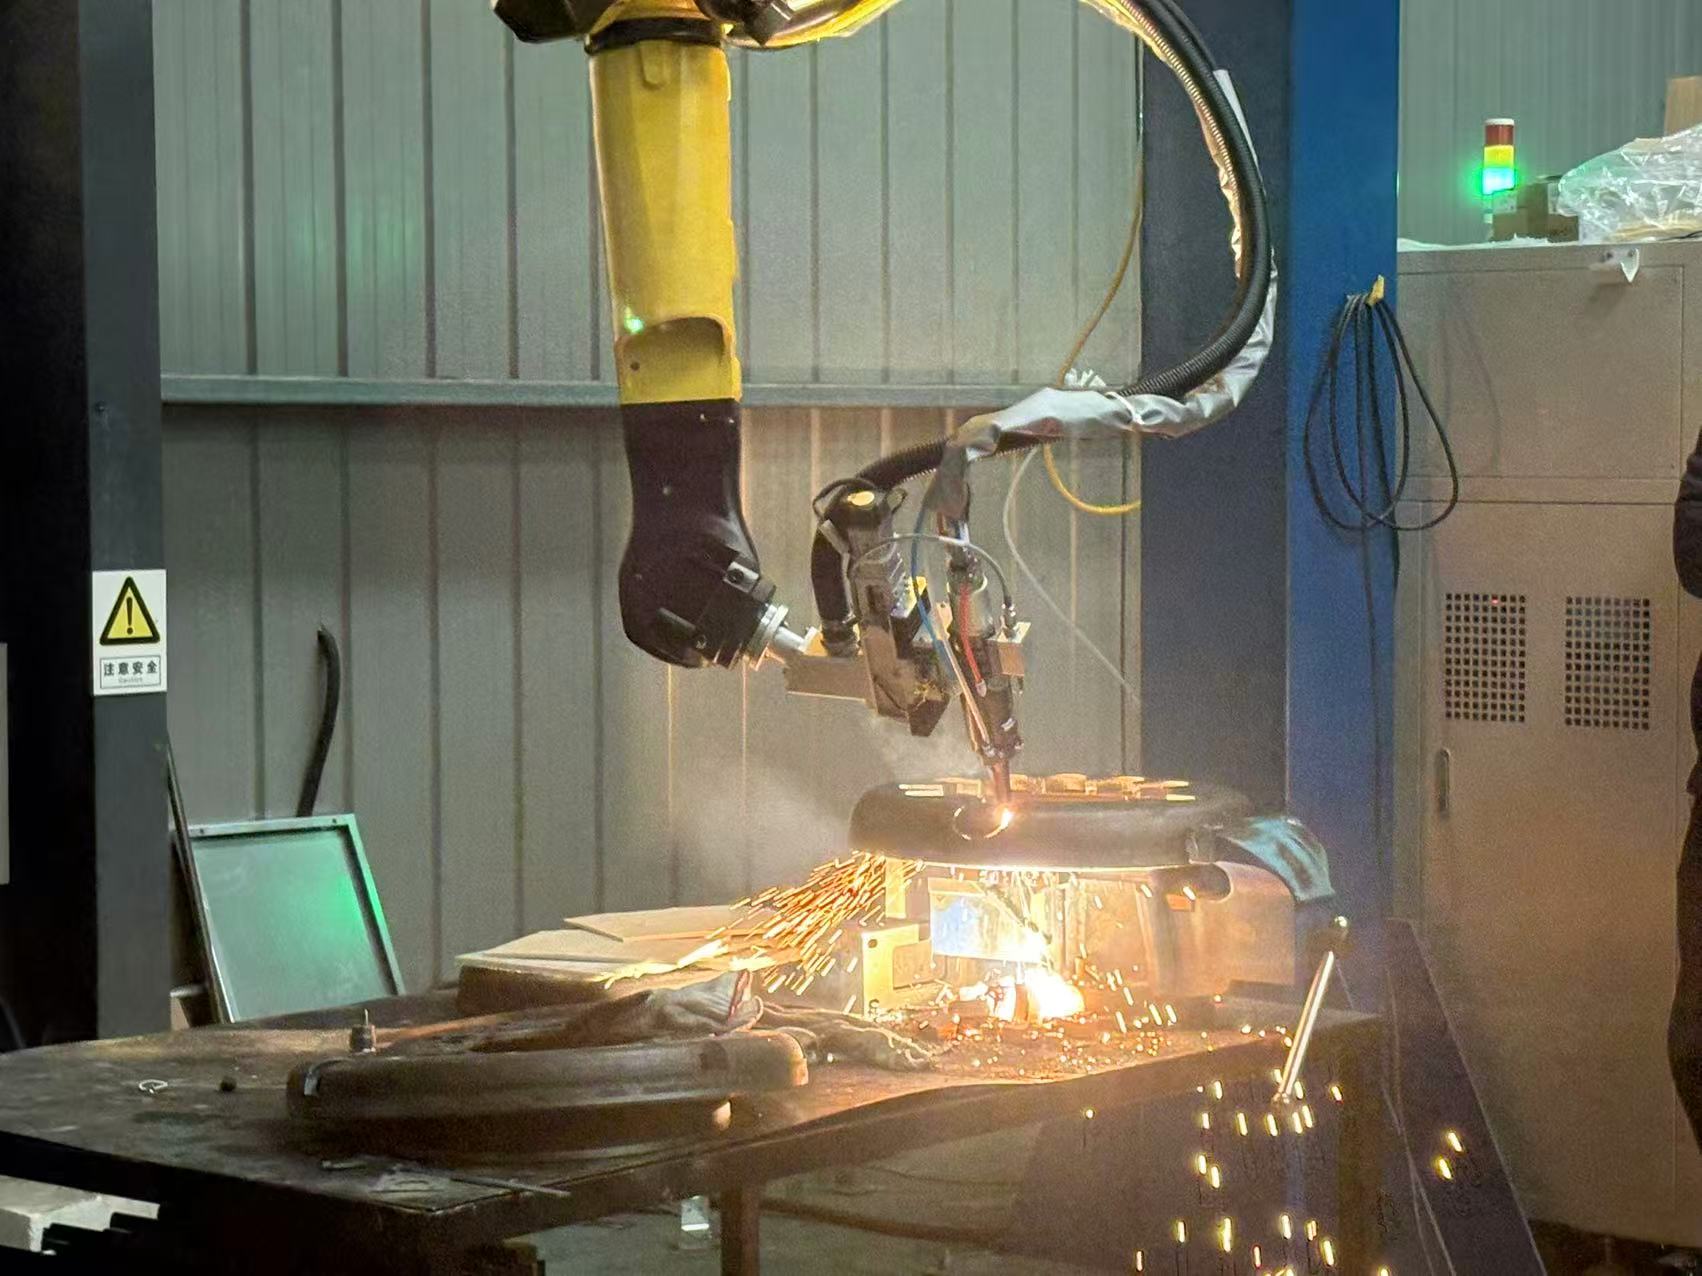
Platform laser tube cutting machines, with their high precision and efficiency, have become core equipment in the tube processing industry. They can easily handle the cutting, grooving, and drilling of stainless steel, carbon steel, aluminum alloy, and other pipes. Mastering standardized operating procedures ensures both precision and extended equipment life. The following step-by-step guide, adapted for mainstream fiber-optic platform laser tube cutting machines, is quick and easy for even beginners.
1. Preliminary Preparation: Pipe and Equipment Verification
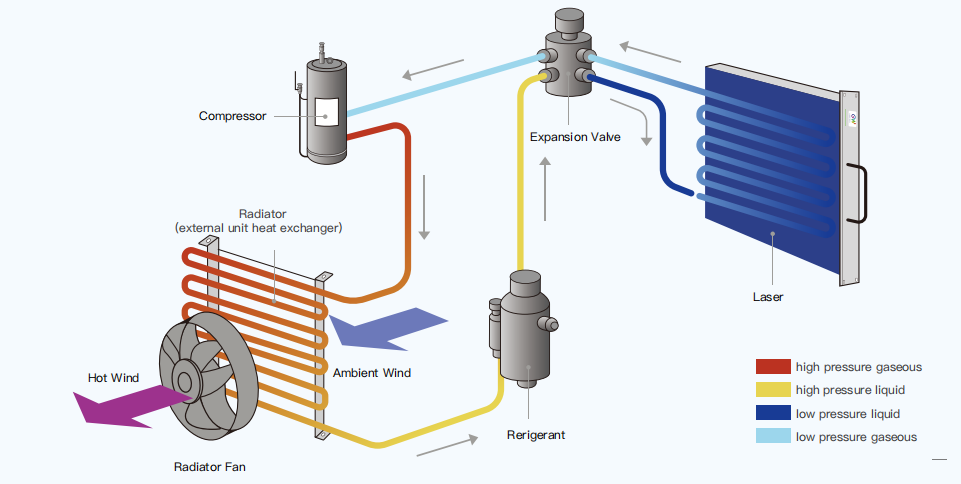
First, confirm the pipe to be processed. Select the appropriate pipe based on the equipment's specifications (such as diameter range and wall thickness restrictions). Measure the pipe diameter and wall thickness with a caliper to ensure it meets the equipment's processing range (e.g., common models accommodate round pipes from 20-200mm in diameter and square pipes from 20×20-150×150mm). Clean the pipe surface (using alcohol to wipe) to prevent any oil or rust from affecting cutting accuracy. Next, inspect the equipment: confirm that the power cord and water cooling pipe are securely connected and that the laser head lens is not damaged. Allow the machine to preheat for 5-10 minutes, and turn on the exhaust system (adjust the air volume to above 80%) to prevent metal dust accumulation.
2. Parameter Settings: Match the parameters to the pipe material
Open the pipe cutting machine control software, import the pipe CAD drawing (DXF and PLT formats supported), and adjust the cutting path. For round pipe cutting, set "Rotation Synchronization"; for square pipe cutting, calibrate "Corner Compensation." Set the core parameters based on the pipe material: For stainless steel pipe, select 60%-80% power, 300-500mm/min speed, and 0.5-0.7MPa air pressure; for carbon steel pipe, select 50%-70% power, 400-600mm/min speed; for aluminum alloy pipe, select 40%-60% power (to avoid overheating) and 200-400mm/min speed. After completing the settings, click "Preview" to confirm that the path does not overlap or exceed the pipe material.
3. Pipe Clamping: Precise Fixing is Key
Place the pipe in the machine's feed rack and adjust the centering mechanism and clamping jaws: Use the V-shaped clamp for round pipes and the flat clamp for square pipes. Ensure the pipe axis is parallel to the machine's feed direction, with a deviation of ≤0.05mm. Start the feed system, bring the front end of the pipe under the laser head, use the red light to confirm the cutting starting point, and clamp the pipe (using moderate force to avoid deformation).
4. Actual Cutting: Startup and Monitoring
Click the "Start Cutting" button, and the machine will automatically execute the cutting process. During the process, monitor three key points: First, observe whether the cutting sparks are uniform (scattered sparks may indicate focus deviation, requiring a pause for adjustment); second, check whether the pipe is deflected (if the clamping jaws are loose, immediately press the emergency stop button); and third, ensure proper ventilation (clean the filter if there is excessive dust). After cutting is complete, the machine automatically feeds the pipe. Wear gloves when removing the finished product to avoid burns from high temperatures.
5. Final Work: Shutdown and Maintenance
Disable the laser output and shut down the system in the following order: "Software > Main Power > Water Cooling System > Exhaust System." Clean debris from the workbench and wipe the laser head lens with lens tissue dipped in anhydrous ethanol. Check the jaws for wear weekly and replace the water cooling system coolant monthly to ensure stable operation.
Following this guide, you can maximize the performance of your platform laser tube cutting machine and easily handle a variety of processing needs, including furniture tubing, machinery parts, and construction pipes.


Your cart is currently empty.
