


Your cart is currently empty.


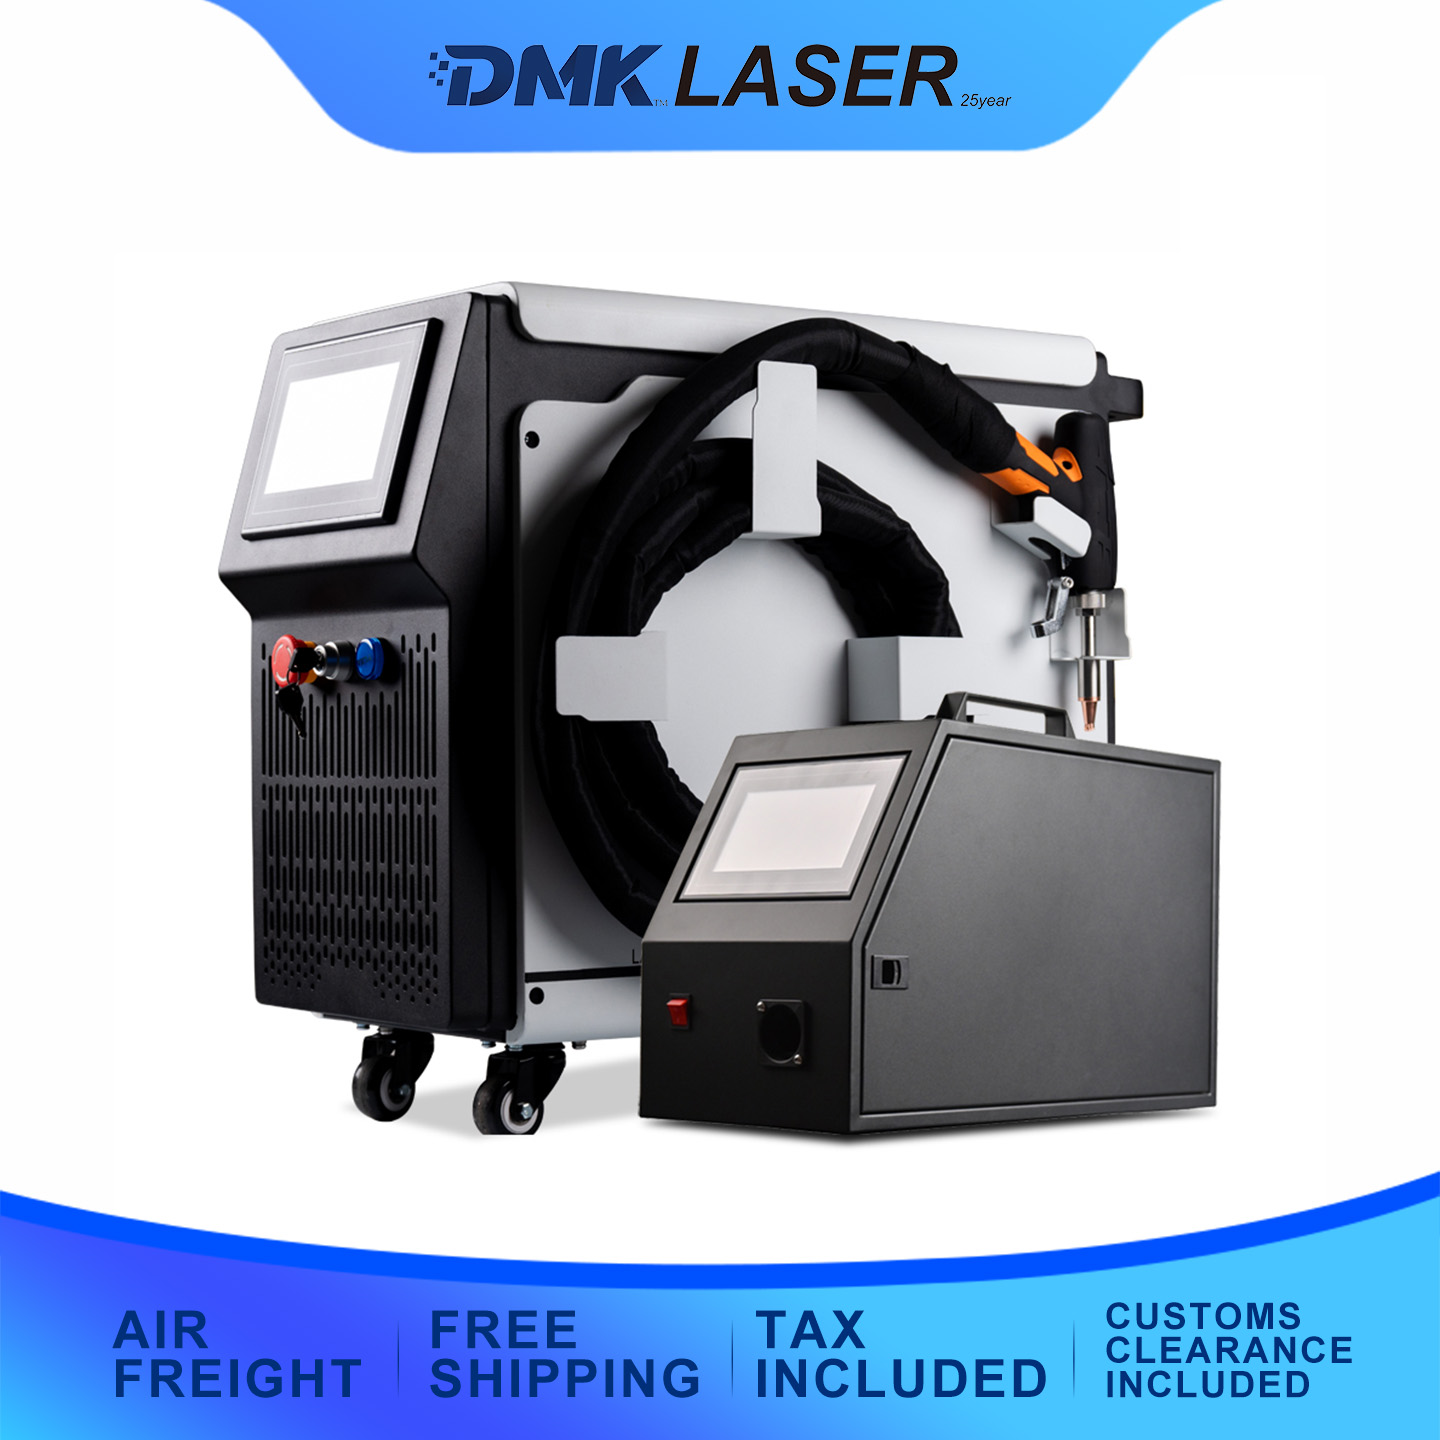
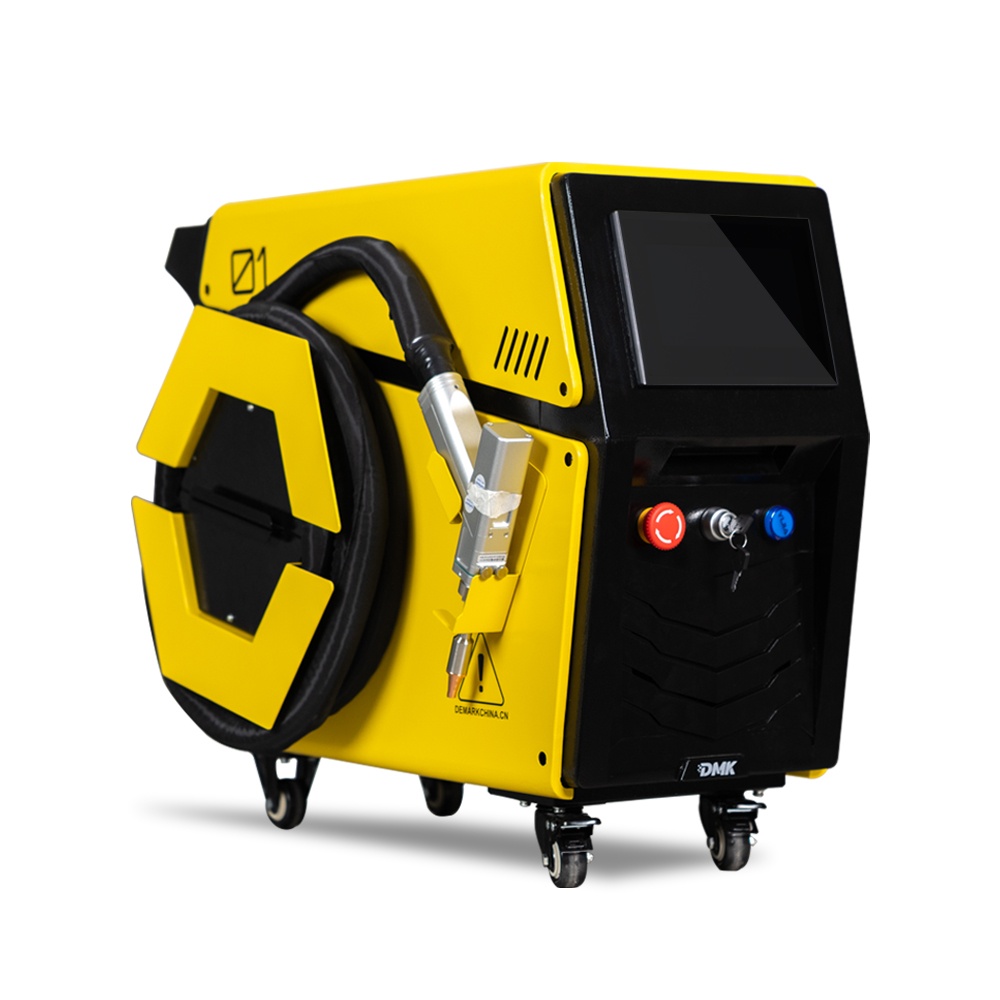
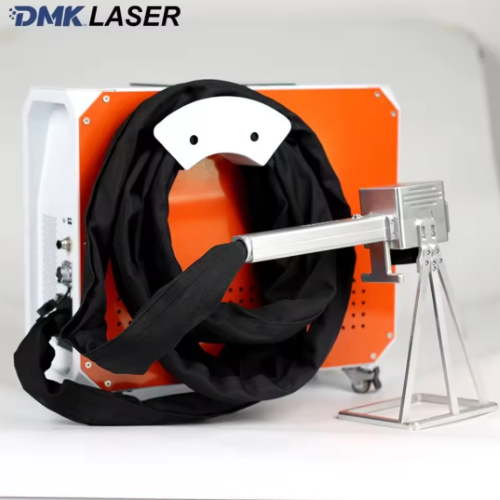
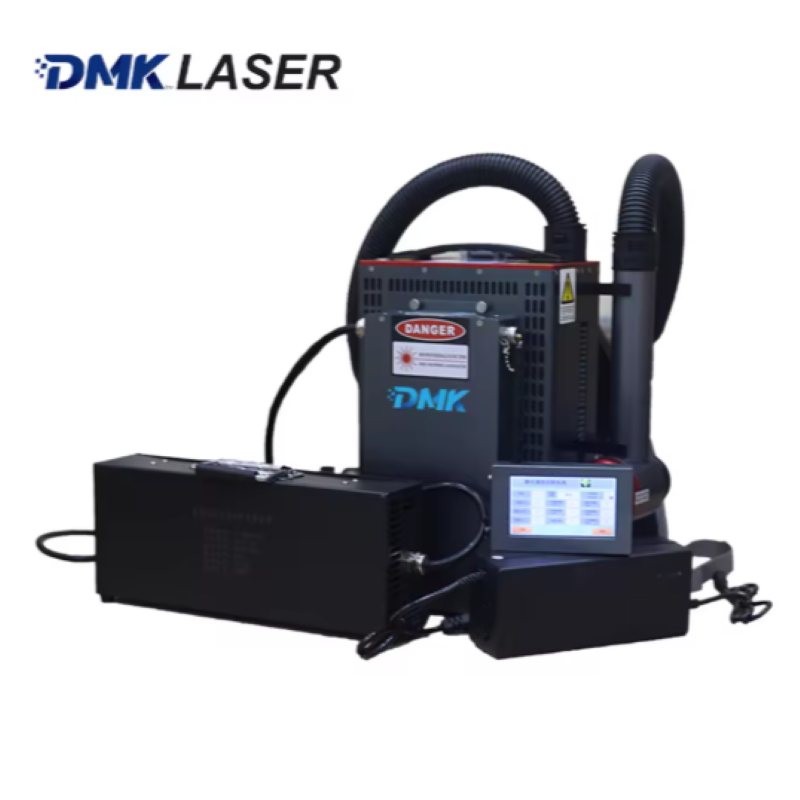
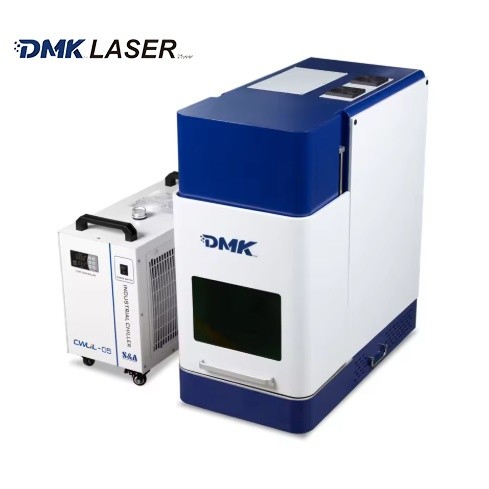
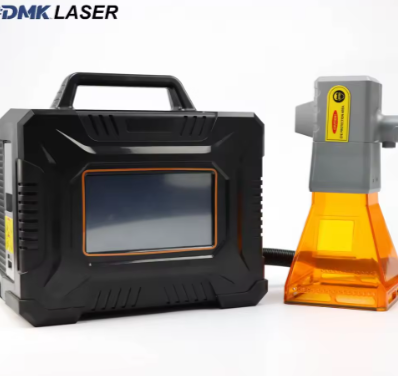
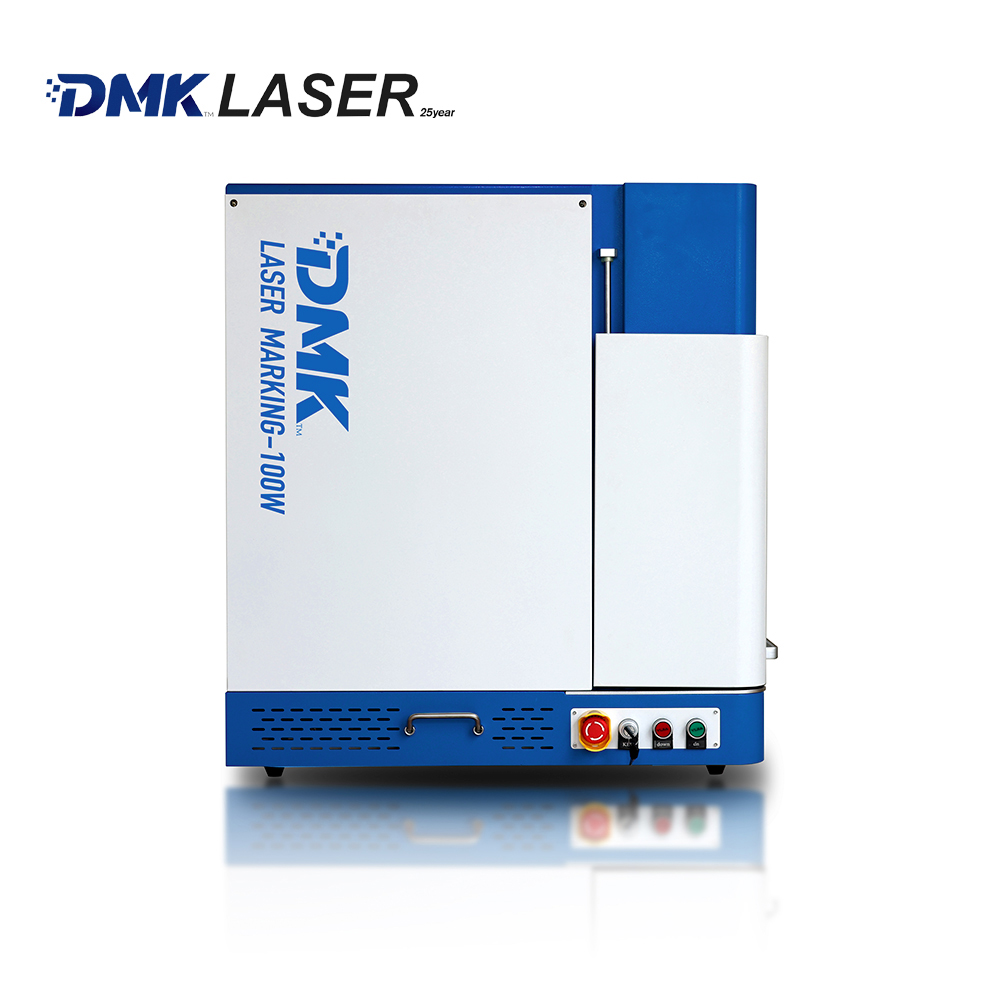
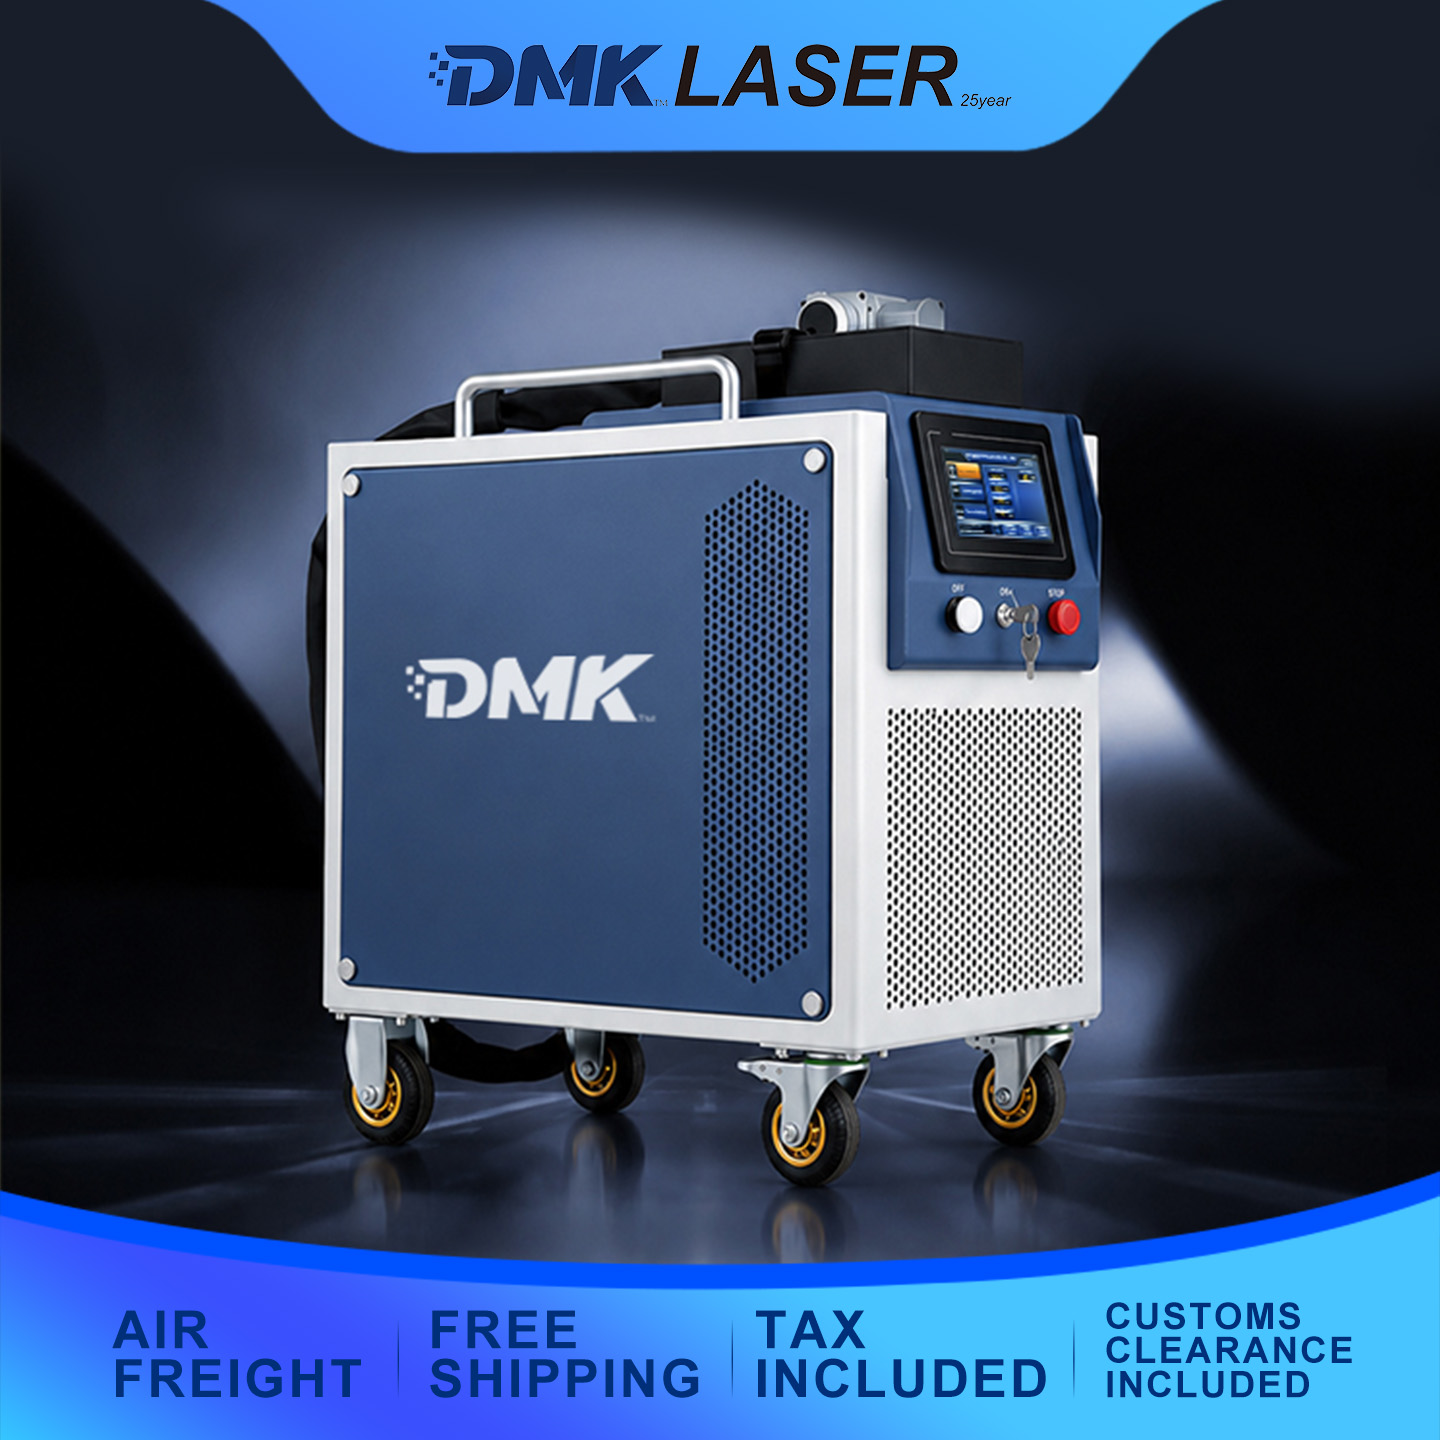
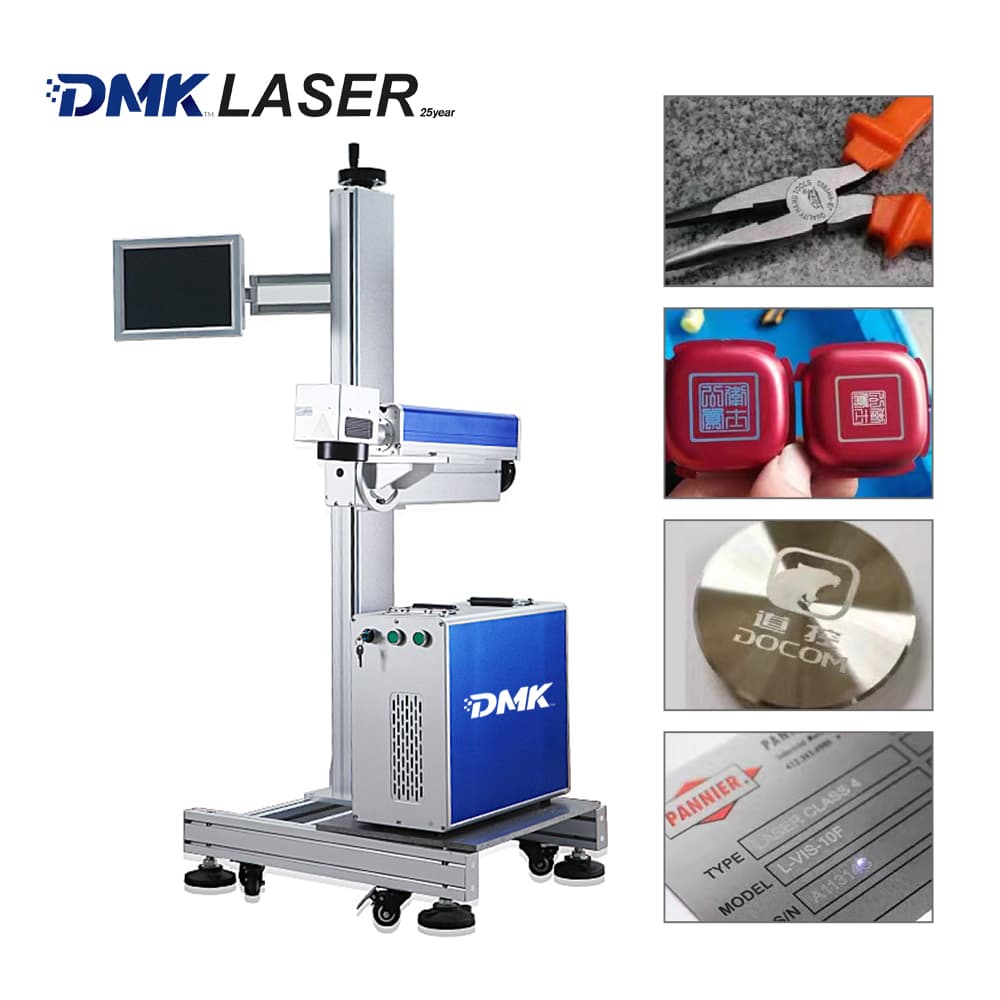
Laser marking machines, with their high precision and permanent marking capabilities, have become a common tool for processing metals, plastics, and ceramics. Mastering standardized operating procedures ensures effective marking while minimizing safety risks. The following five-step demonstration, suitable for both desktop and handheld models, is designed to help even beginners quickly master the process.
Step 1: Preparation before operation (3-5 minutes)
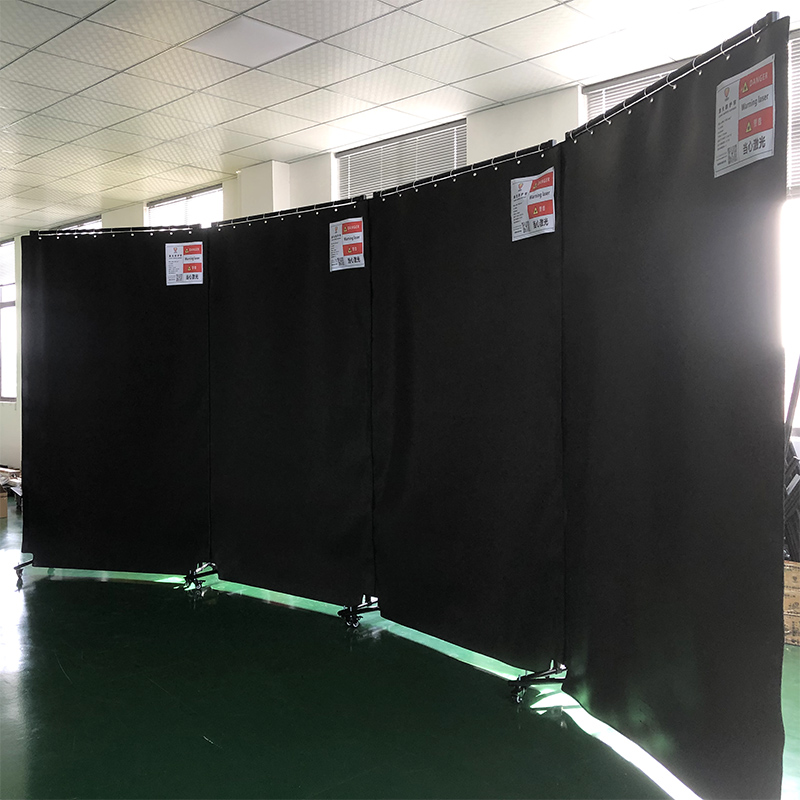
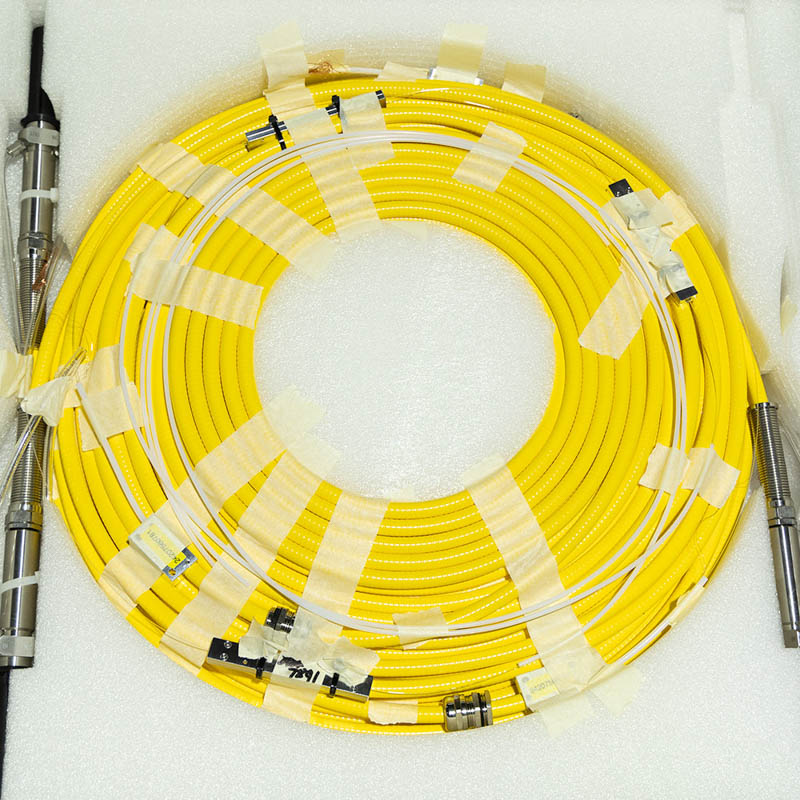
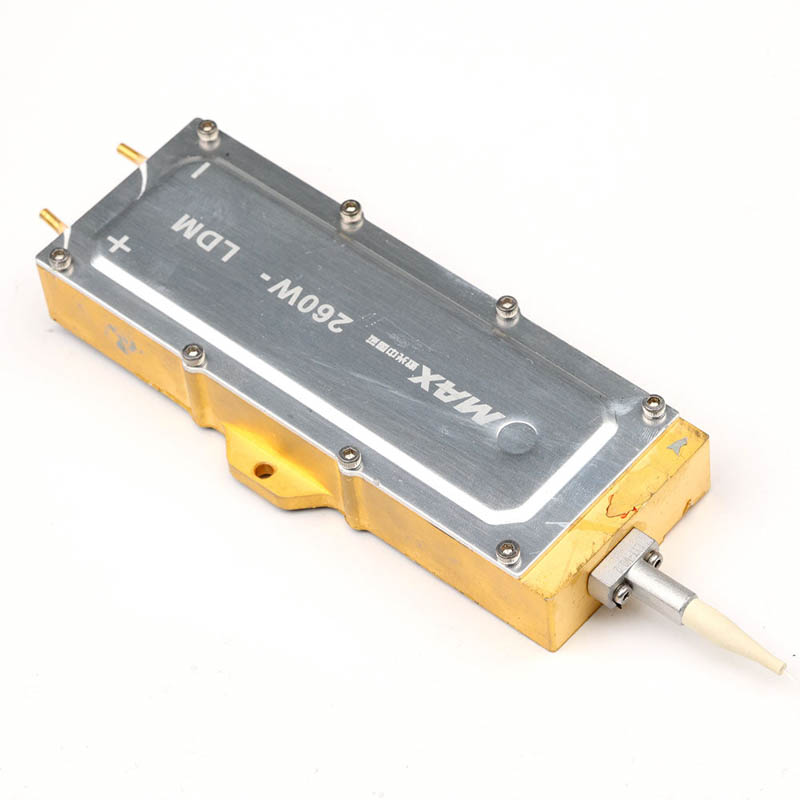
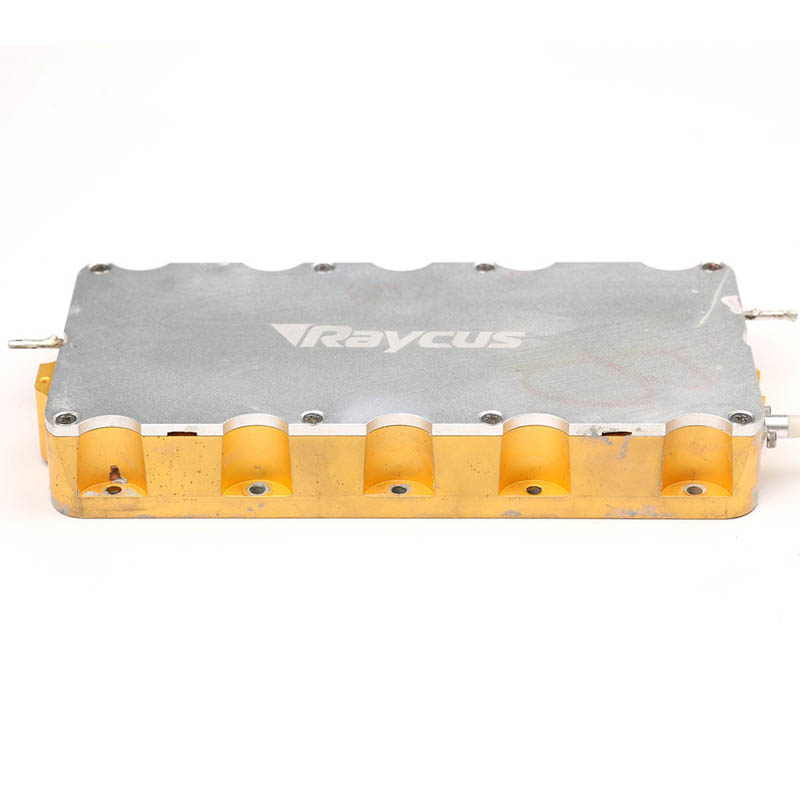
First, take safety precautions. Wear laser safety glasses designed for the appropriate wavelength (for fiber lasers, choose 1064nm). Clear the work area of flammable and explosive items and activate the exhaust system. Next, check the equipment: For desktop computers, confirm that the power cord and water cooling tube are not loose. For handheld computers, ensure that the battery level is ≥80%. Wipe the workpiece surface with alcohol to remove grease and secure it with a clamp to prevent movement. Finally, power on the computers and preheat them in the following order: for desktop computers, press and hold the power button to preheat for 1-5 minutes. For handheld computers, press and hold the power button to preheat for 1-2 minutes.
Step 2: Import Pattern and Set Parameters (2-3 minutes)
Open marking software (such as EzCad) and import a DXF or PLT format pattern, or design text or a logo. Adjust the size to no more than 90% of the workpiece marking area. Preset parameters based on the material: For stainless steel, select a power of 60%-90% (desktop) or 30-50W (handheld), and a speed of 200-400mm/s; for plastic, select a power of 30%-60% and a speed of 400-800mm/s. Optimize through trial markings.
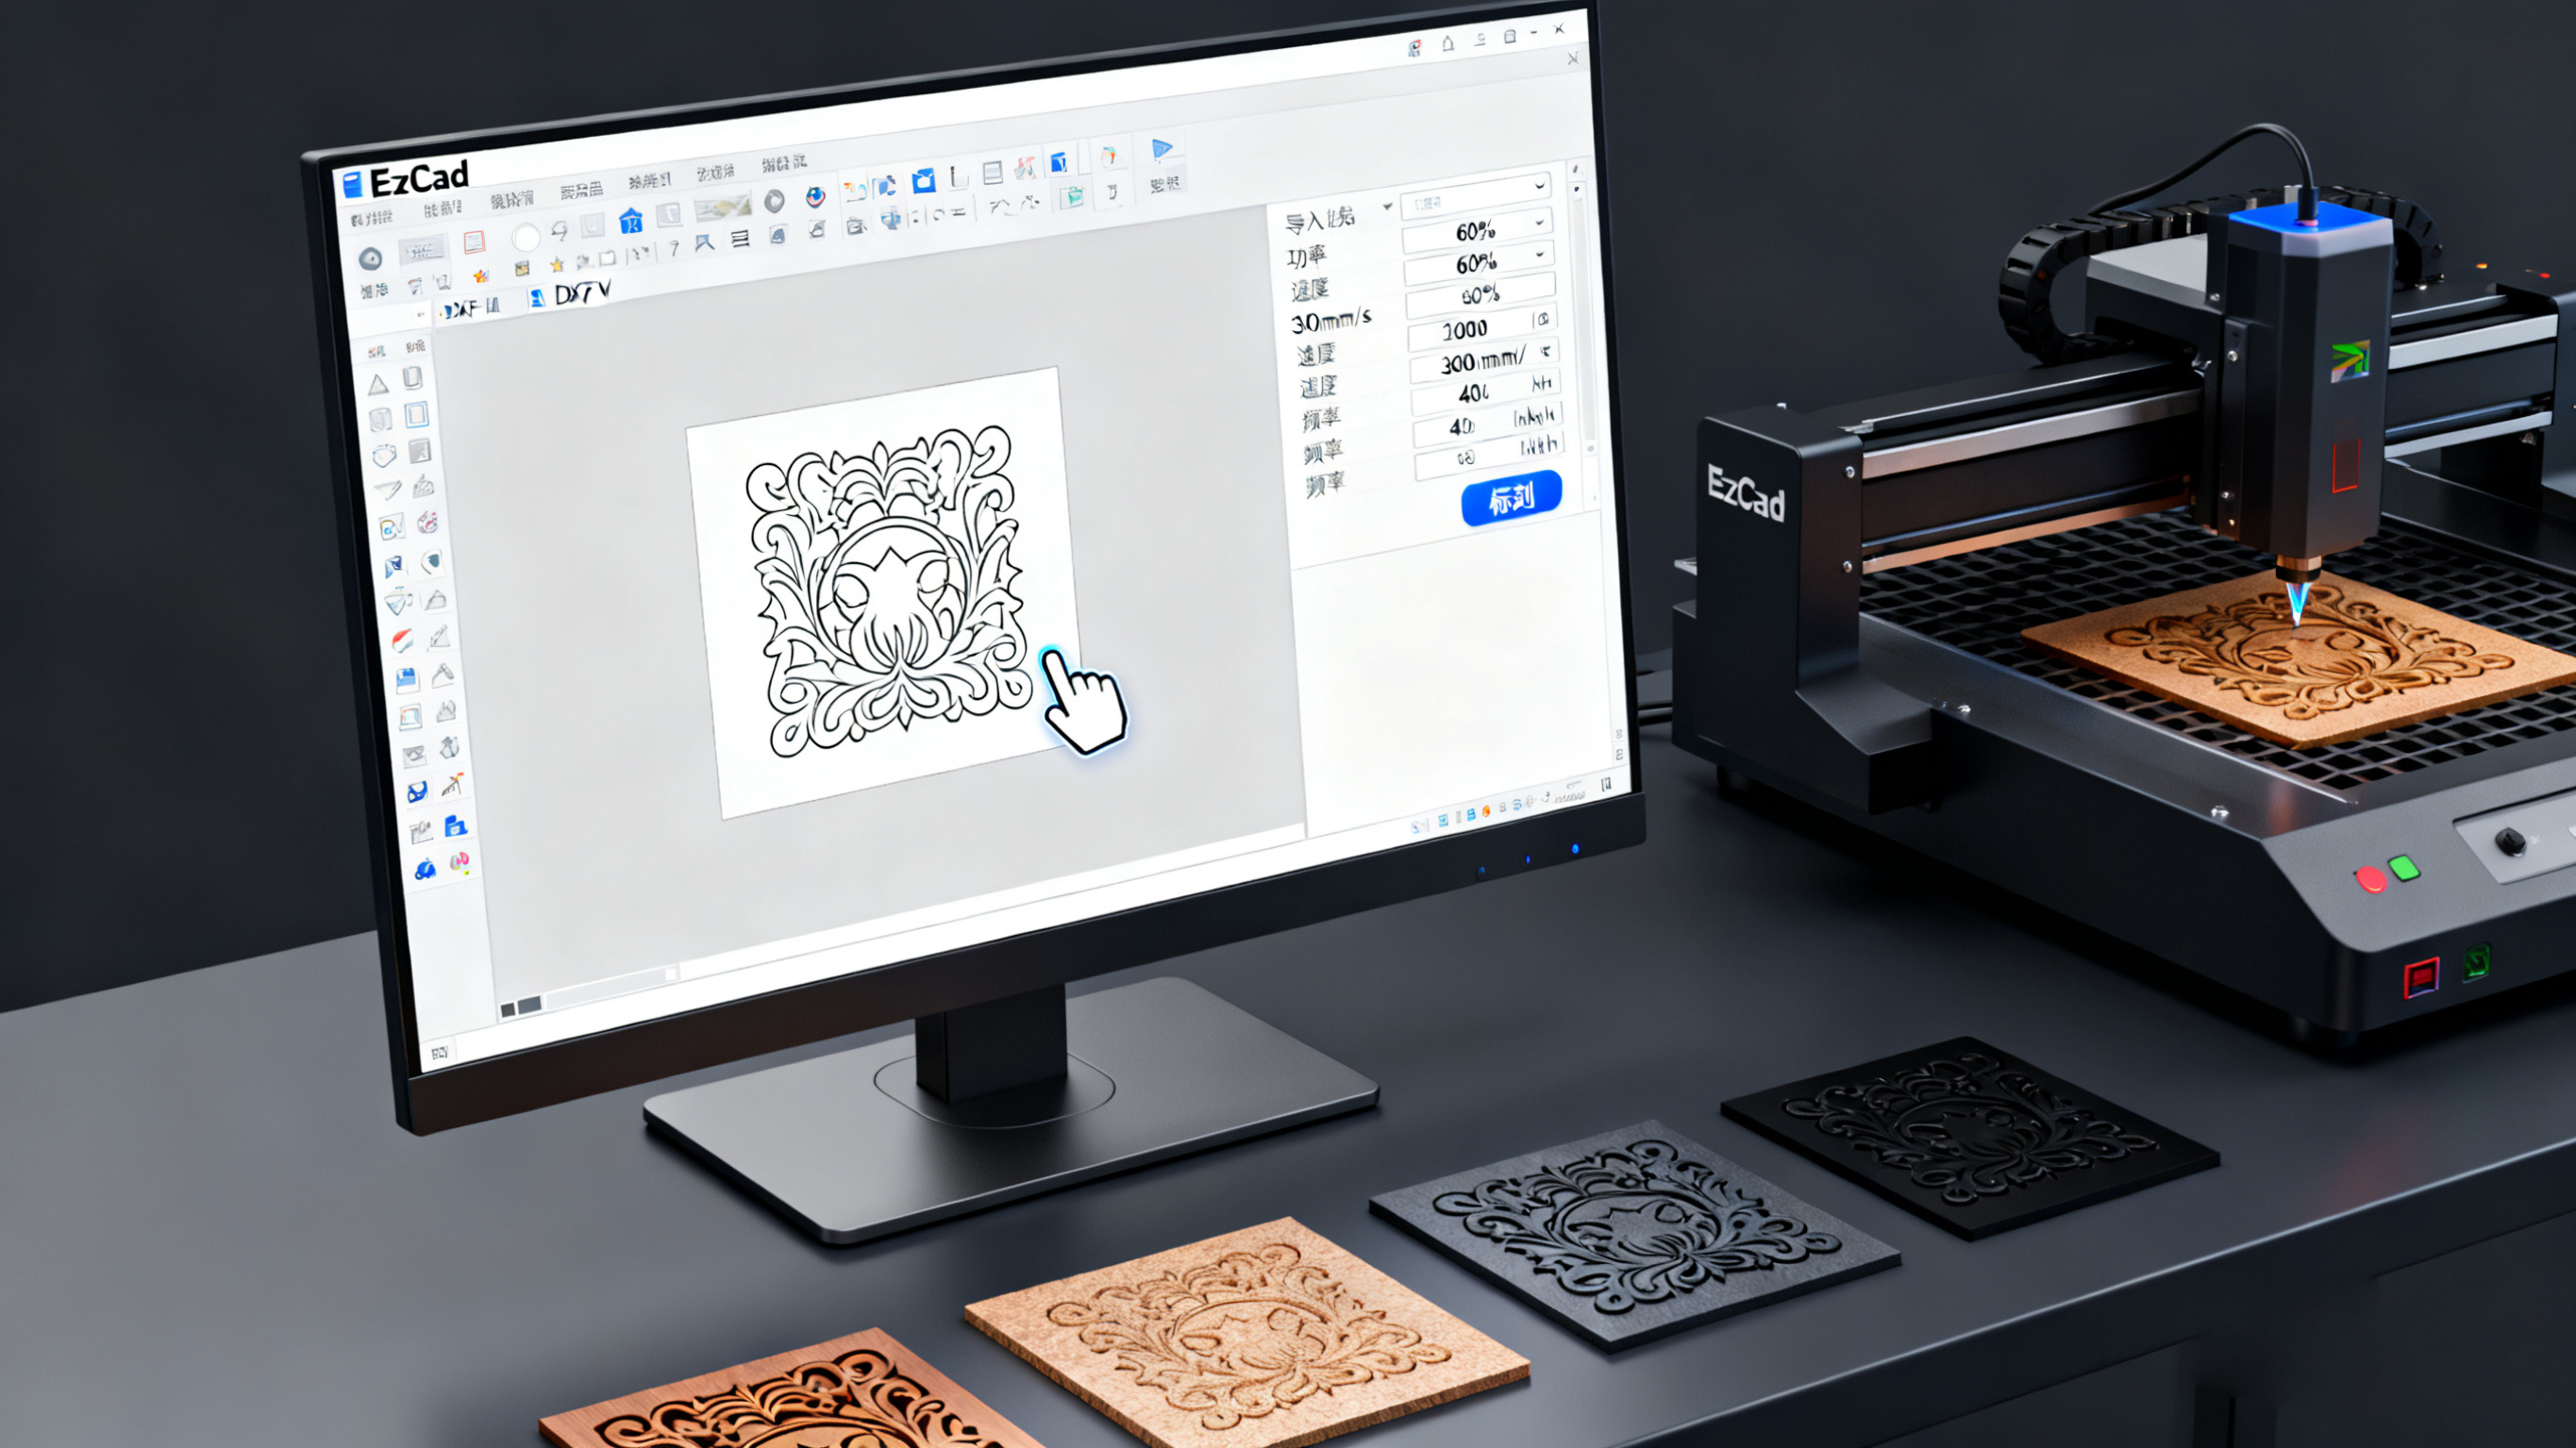
Step 3: Focus Adjustment and Positioning (1-2 minutes)
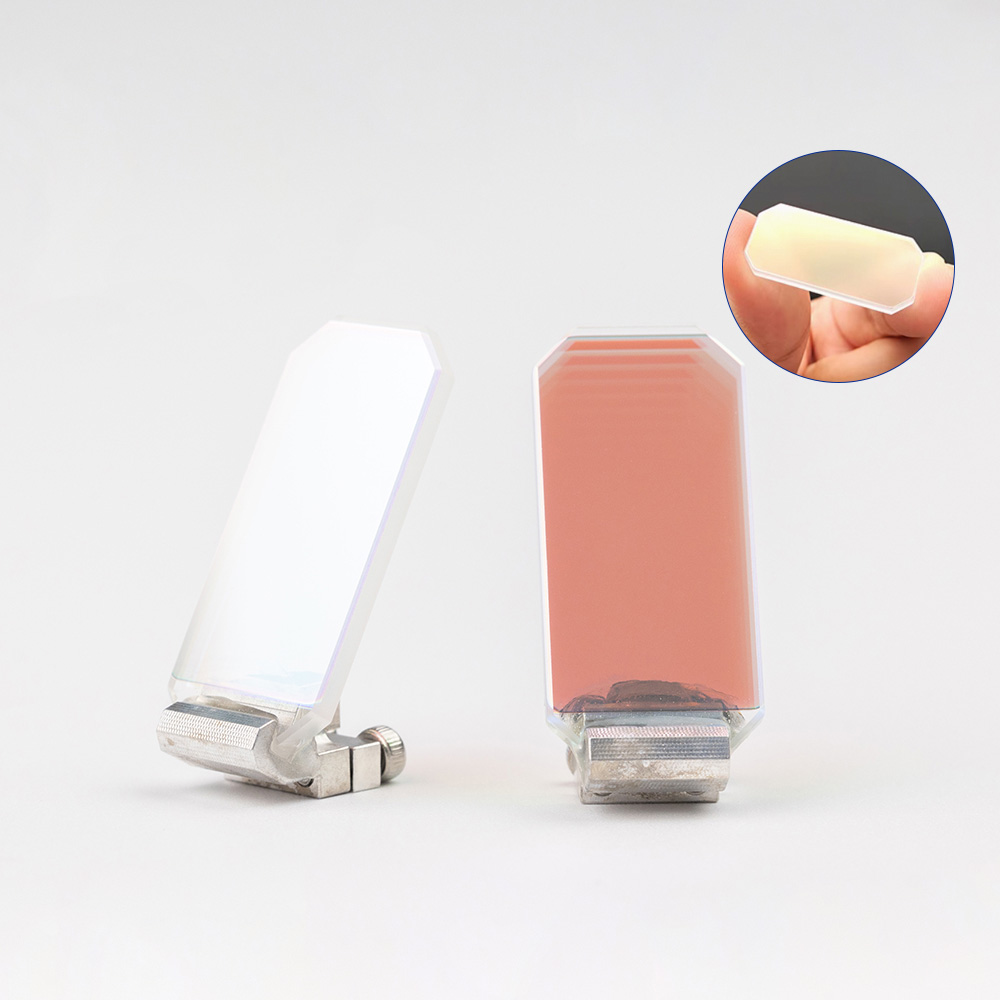
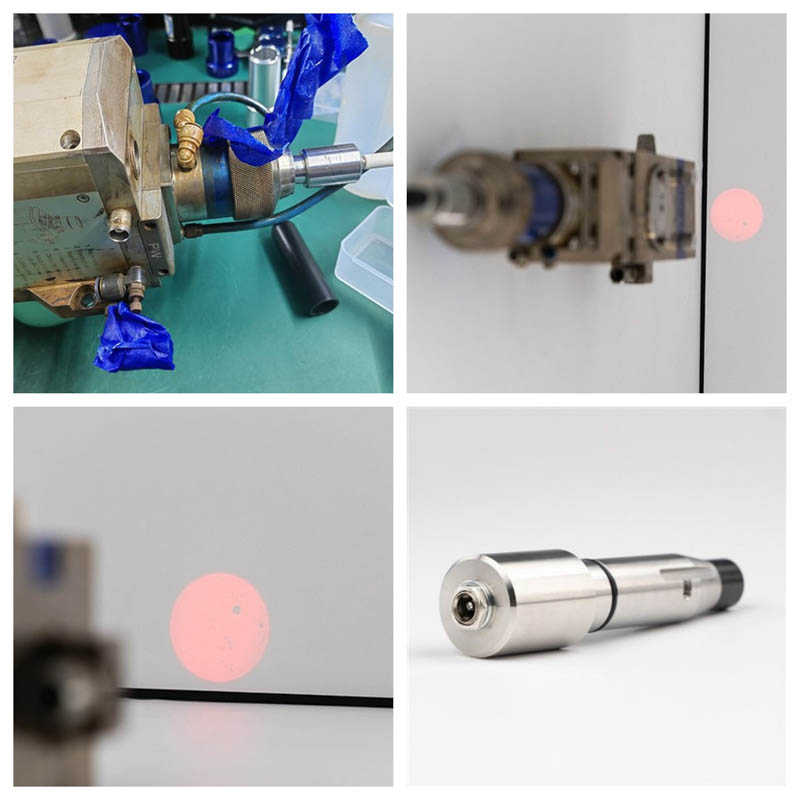
Raise or lower the worktable on the desktop machine, and use the focus ruler to minimize the red light spot (focusing on the workpiece surface). On the handheld machine, rotate the lens ring, maintaining a distance of 10-15cm from the workpiece. Click "Red Light Preview" to fine-tune the pattern coordinates or workpiece position, ensuring the red light box overlaps the target area with a deviation of ≤0.1mm.
Step 4: Test Marking and Final Marking (2-4 minutes)
Test-mark a small pattern on the scrap area of the workpiece. If blurring occurs, increase the power and reduce the speed. If burning occurs, reduce the power and increase the speed. After confirming the results, proceed with the final marking: On the desktop computer, press the "Mark" button without touching the workbench. Hold the handheld with both hands and press the trigger button to move at a constant speed. For complex patterns, overlap by 1-2mm in sections.
Step 5: Shutdown and Maintenance (2-3 minutes)
On the desktop computer, turn off the laser output, press the emergency stop button, shut down the computer, and disconnect the power. On the handheld, release the trigger button and wait for the fan to run for 2 minutes before shutting down. Clean the workbench immediately. Wipe the lens with special paper dipped in anhydrous ethanol. Clean the exhaust filter weekly to ensure the life of the equipment.

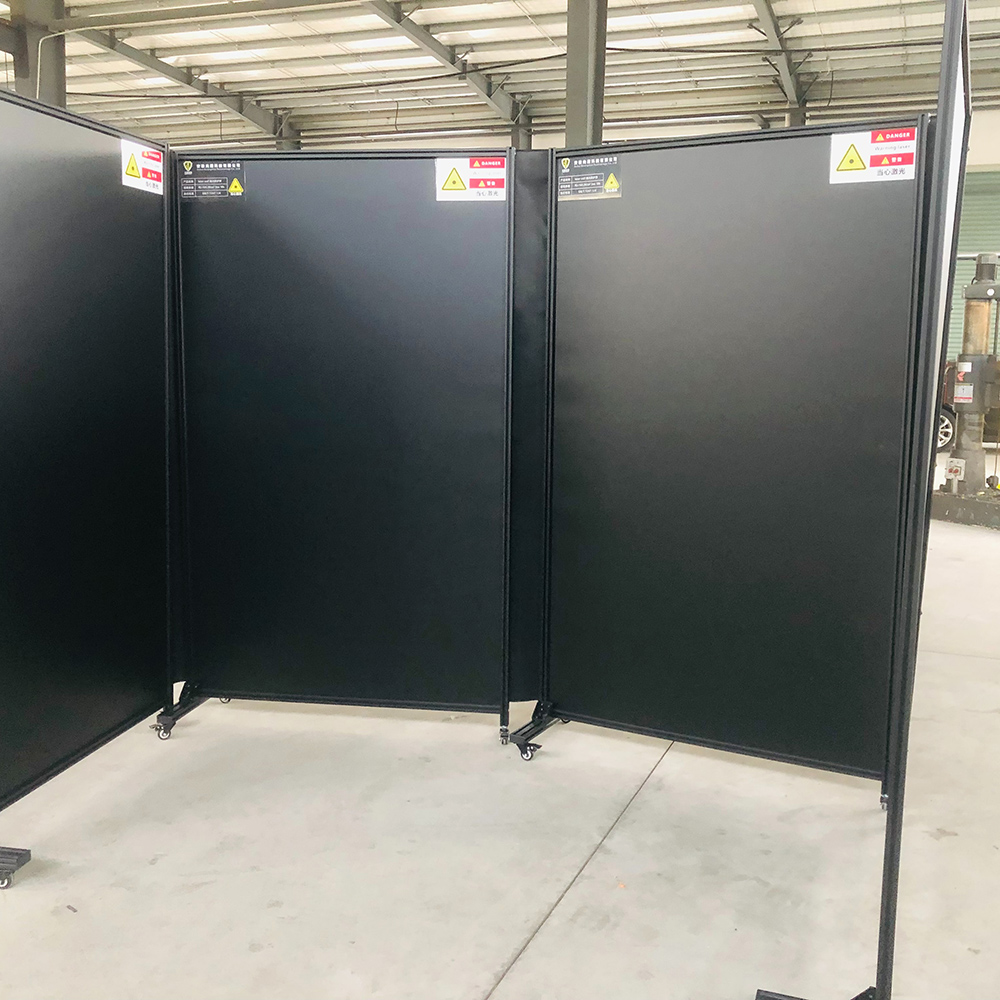
Note: Matte tape should be applied to highly reflective materials (copper, aluminum), emergency stop should be pressed immediately in case of abnormality, and non-operating personnel are prohibited from using the device to ensure that it can stably adapt to the processing needs of multiple scenarios.
Previous: How to choose a marking machine
Next: Platform Laser Tube Cutting Machine Tutorial: A Step-by-Step Guide from Setup to Operation


Your cart is currently empty.
