


Your cart is currently empty.


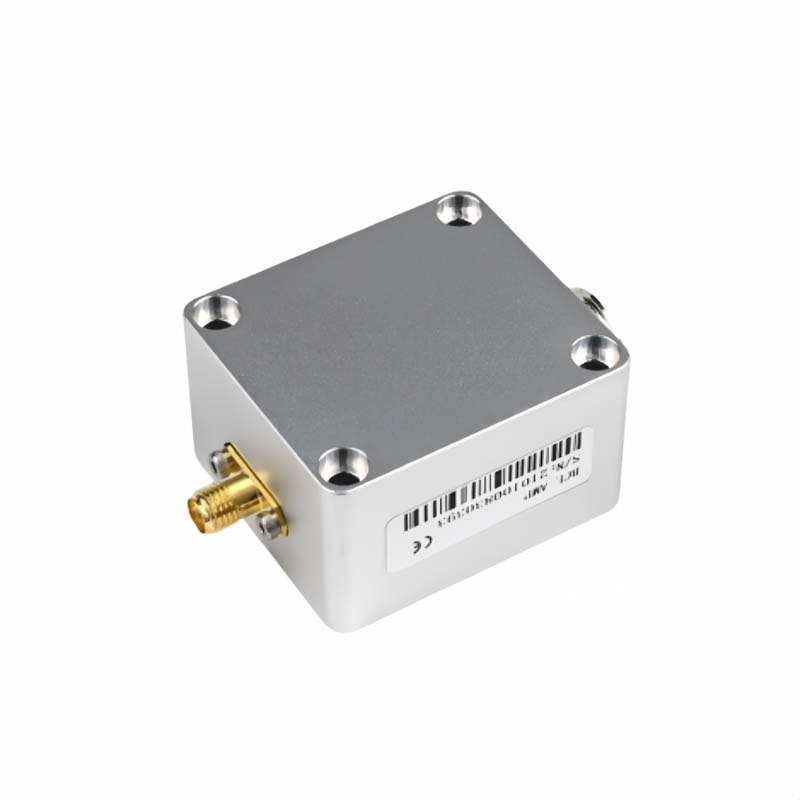
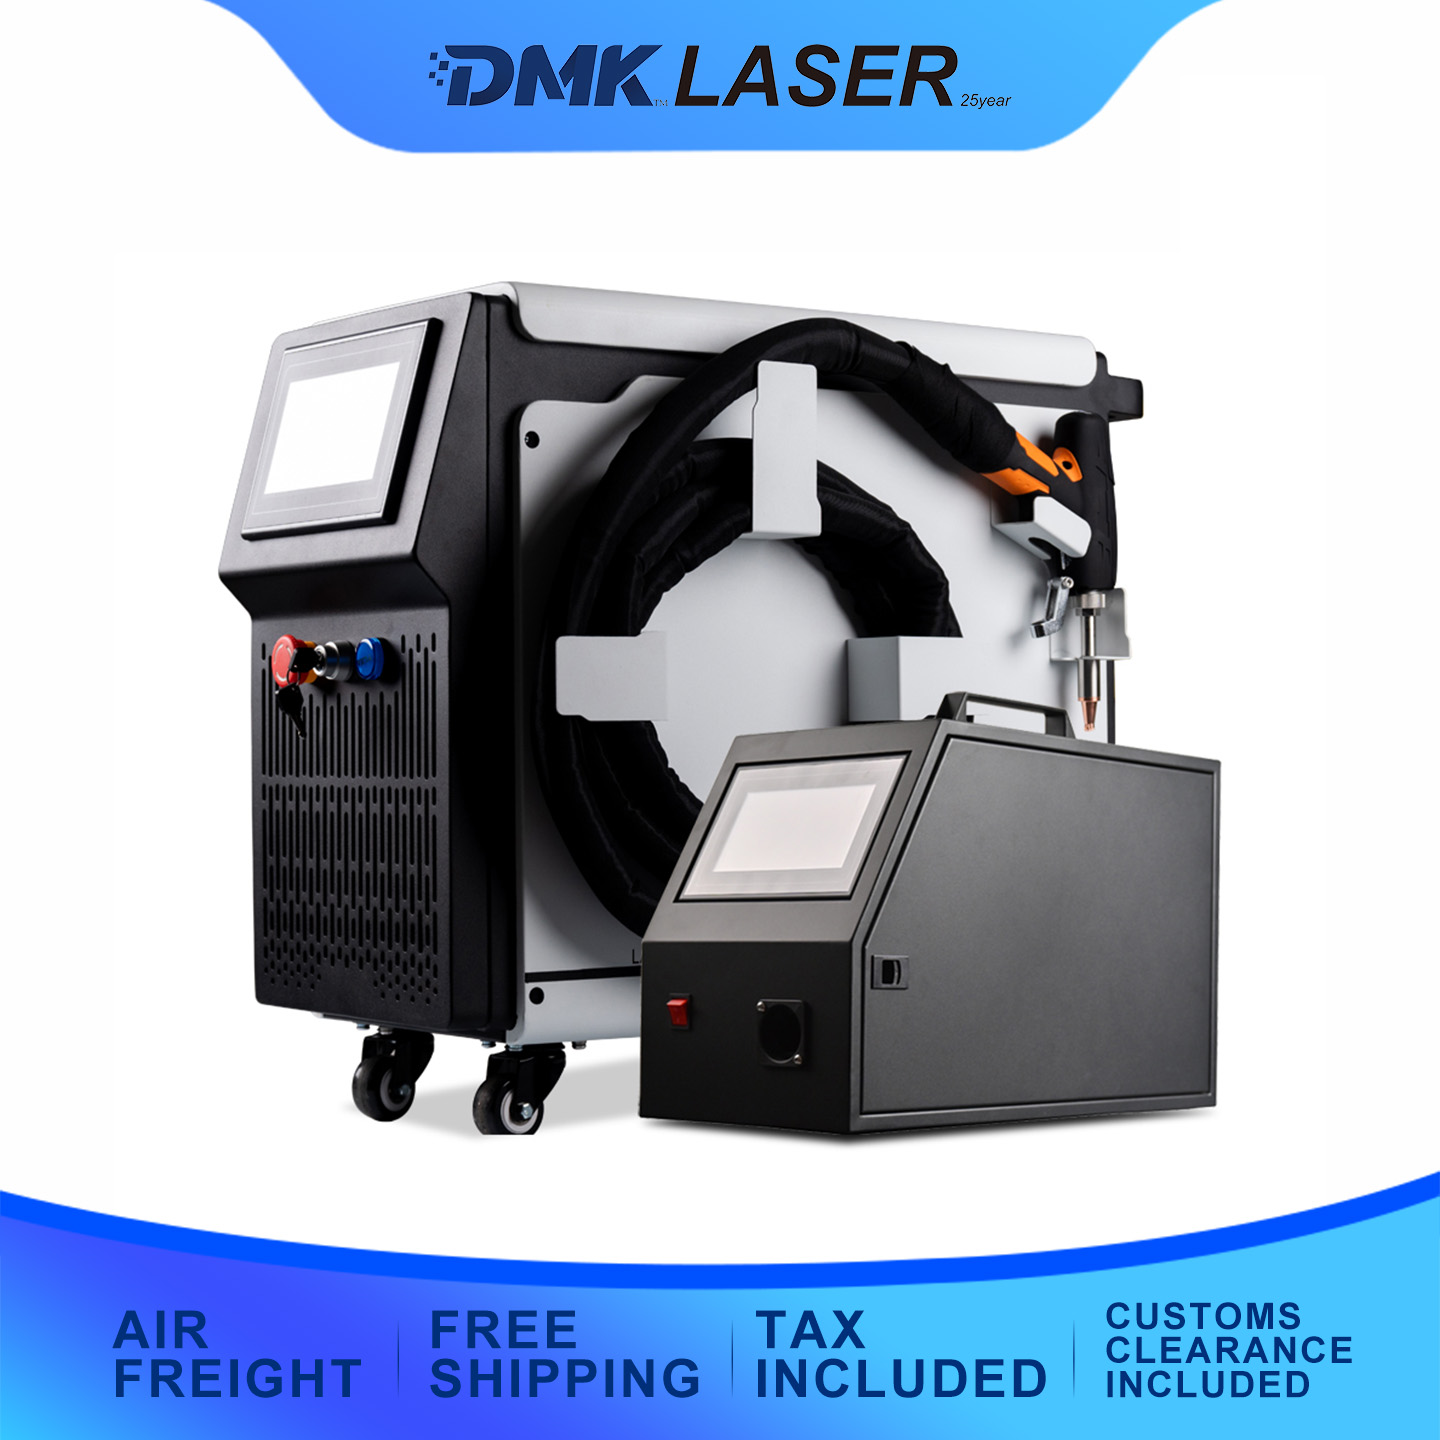
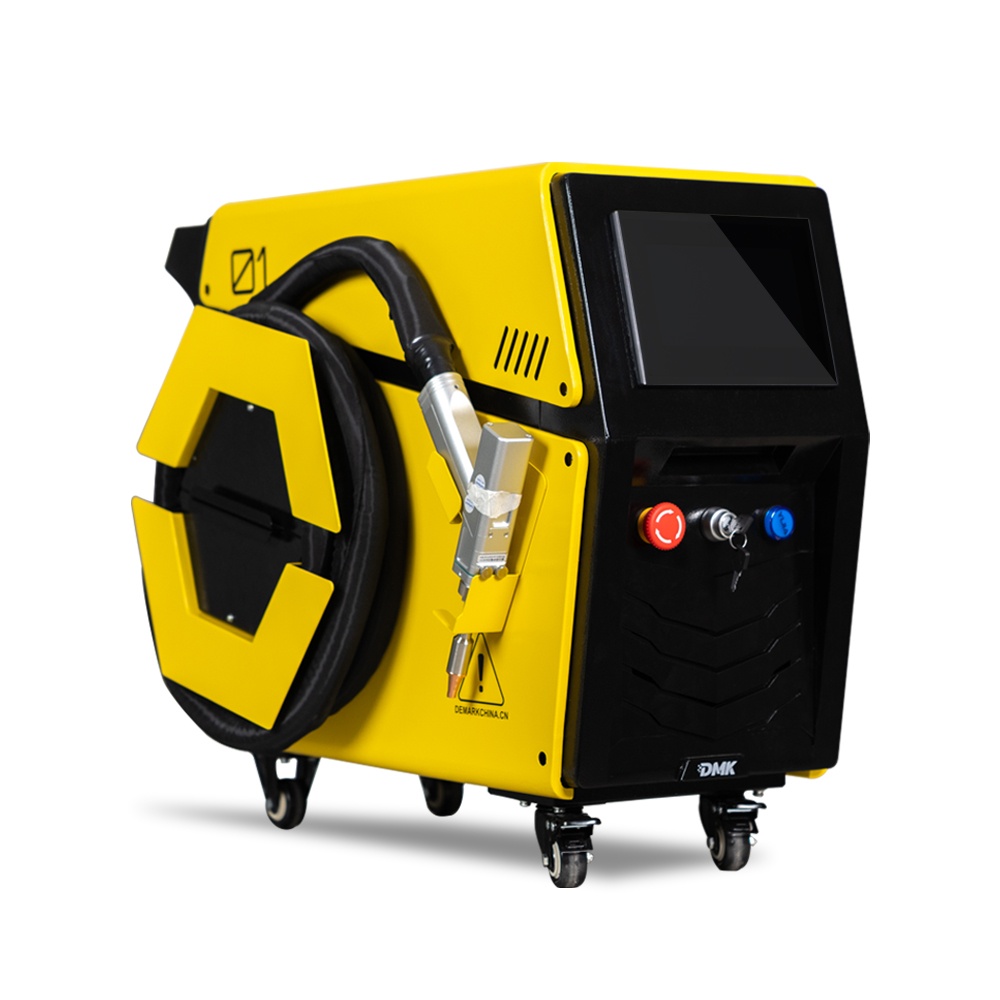
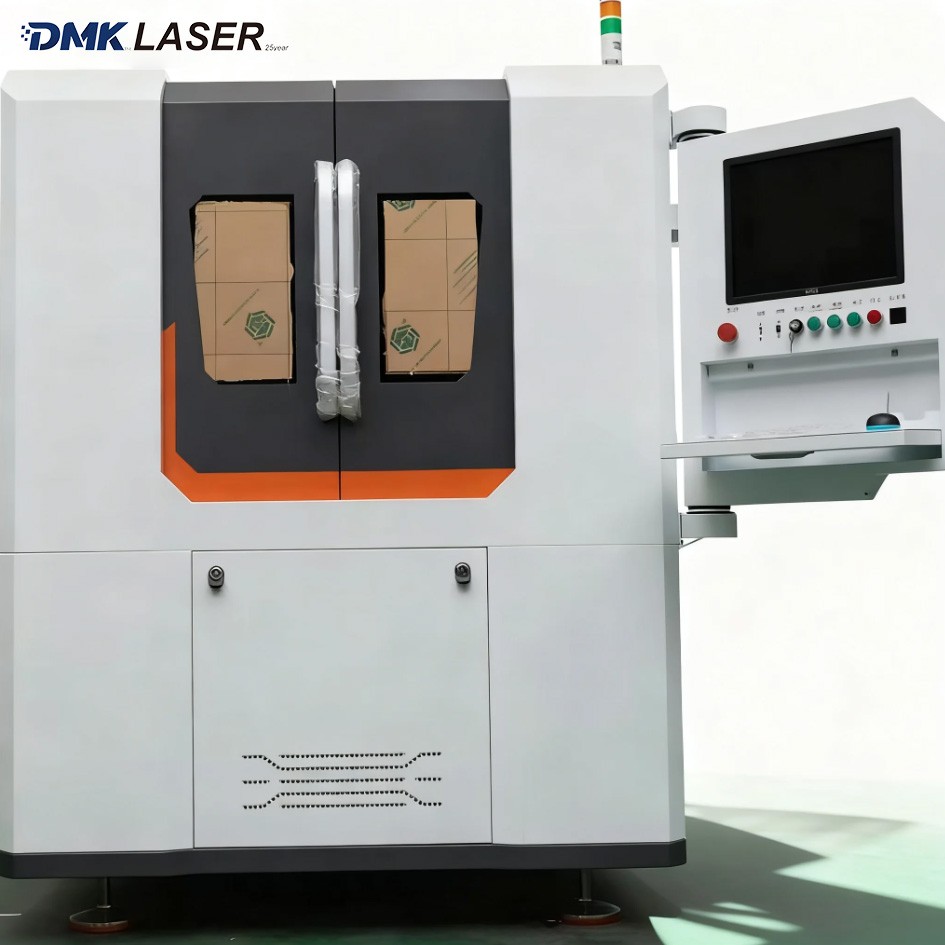
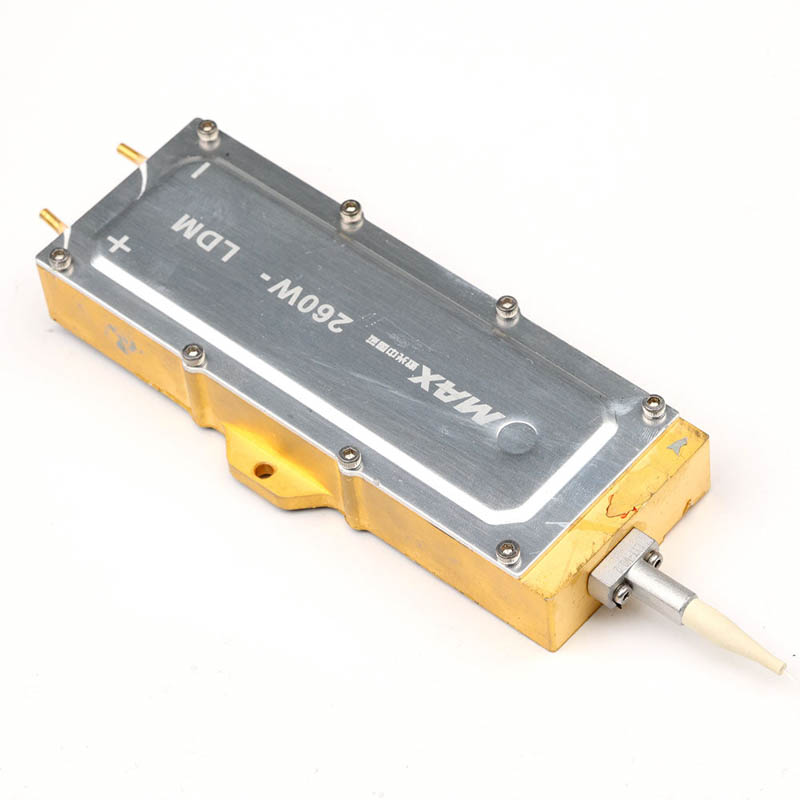
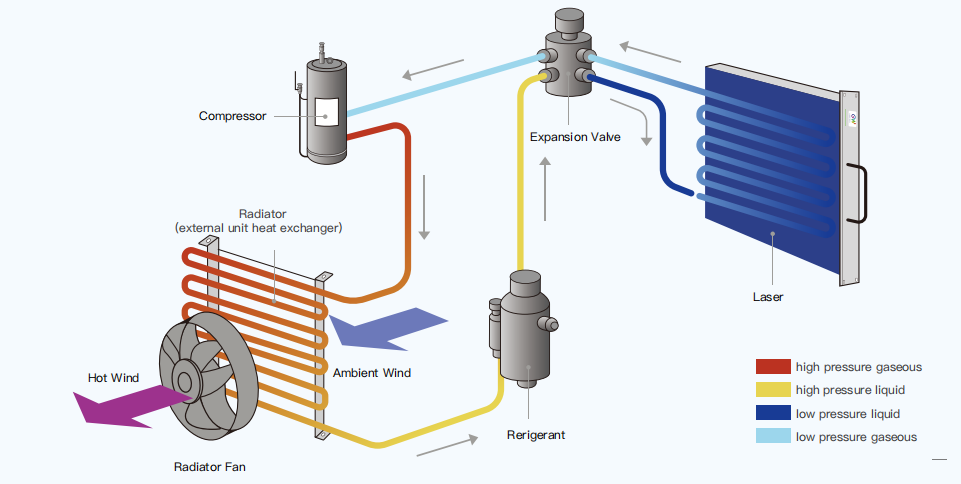
The laser cutting head lens is a core component of laser equipment, and its cleanliness directly affects cutting accuracy and equipment life. Below is a standardized maintenance guide tailored specifically for laser product shop customers. It's compatible with most mainstream cutting head models, and all necessary tools and consumables can be purchased in-store from a single source.
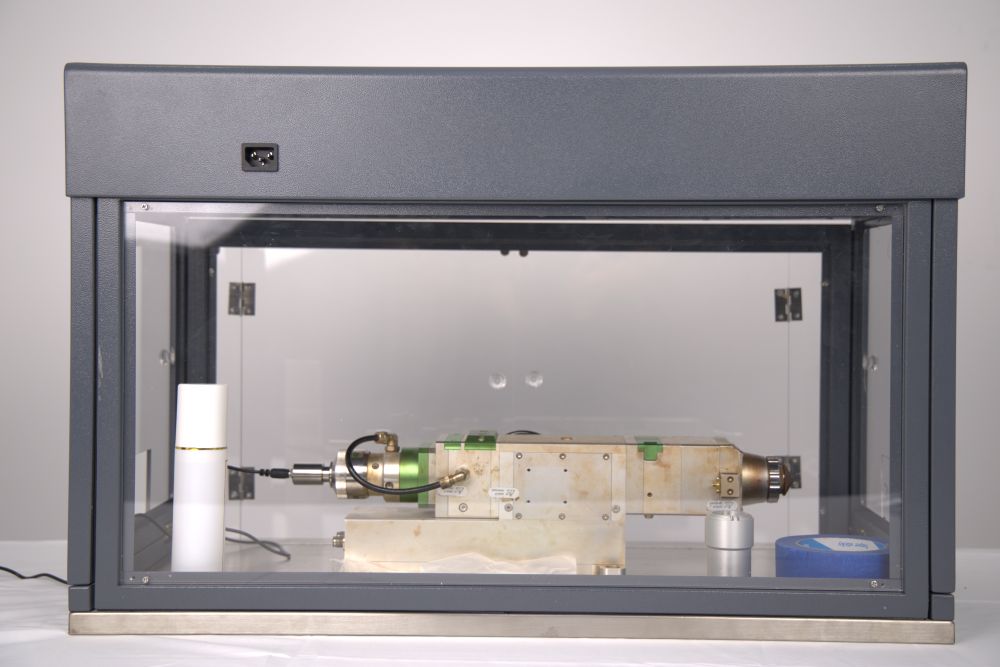
1.Prepare the Operating Environment:
Choose a dust-free cleaning surface (equipped with a top filter) available in-store. Power on the surface in advance and wait for the internal air circulation and filtration to complete. Ensure the operating area is free of visible dust before proceeding to the next steps to prevent secondary contamination of the lens caused by ambient dust.
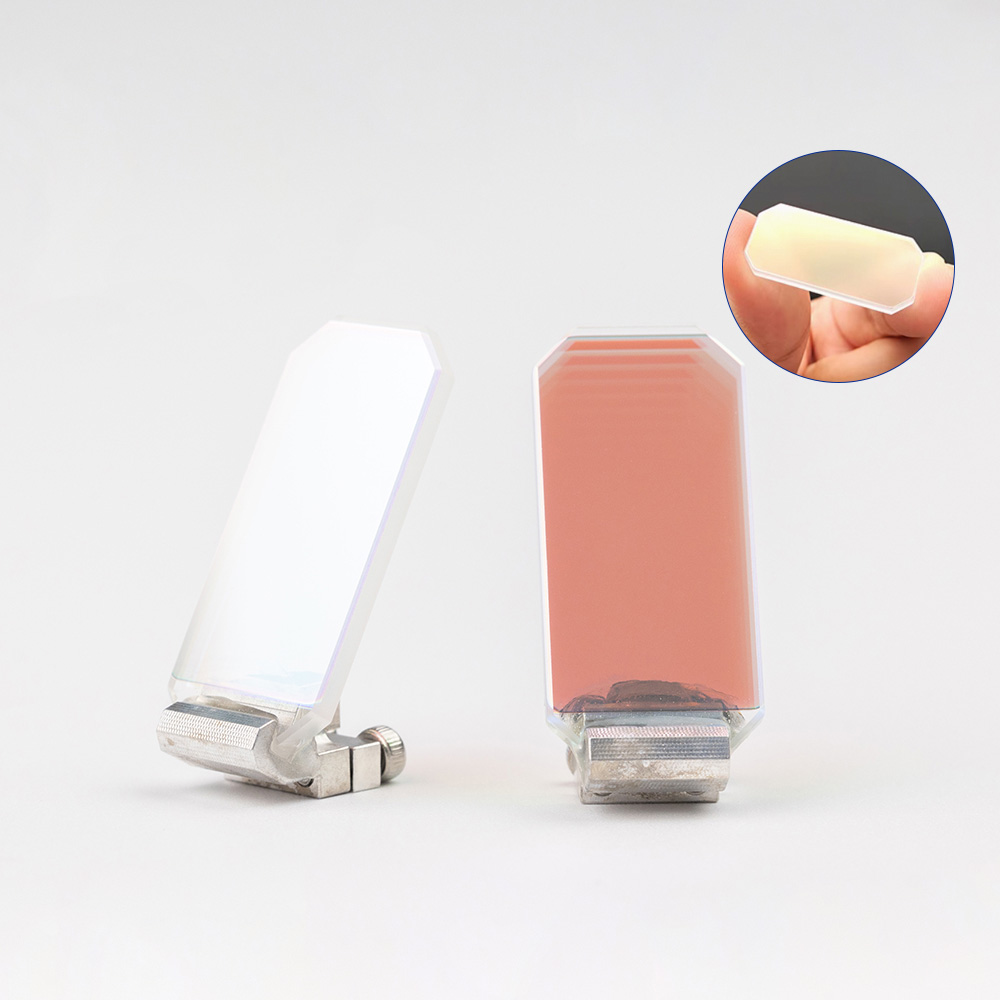
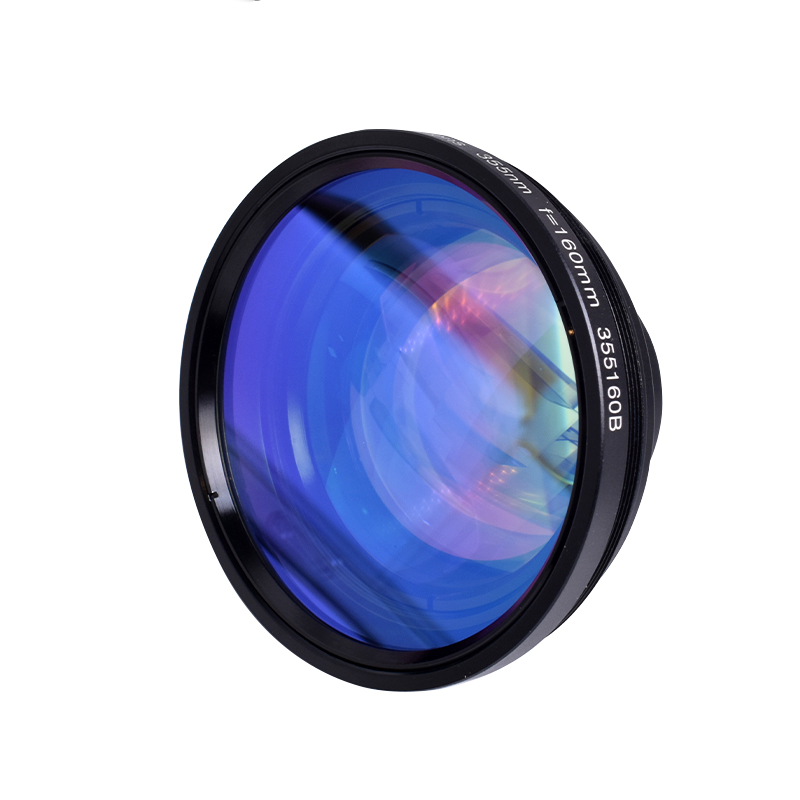
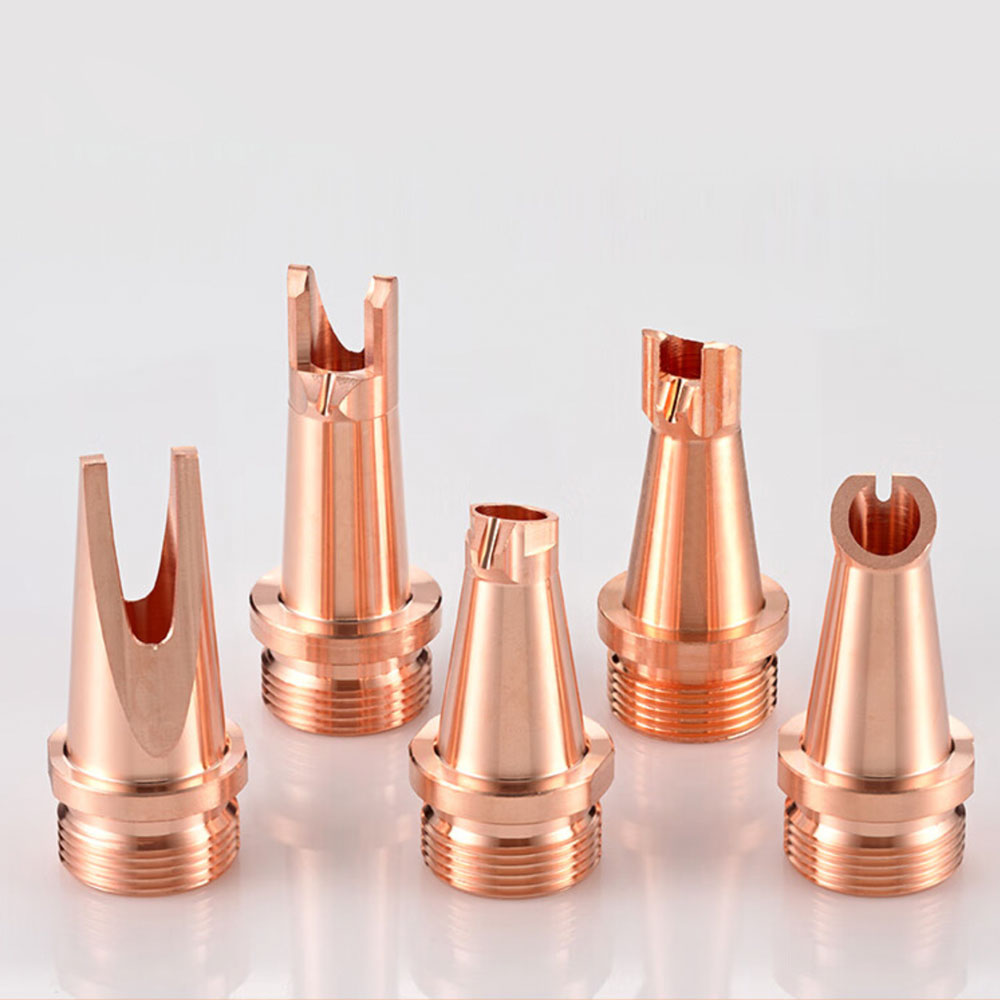
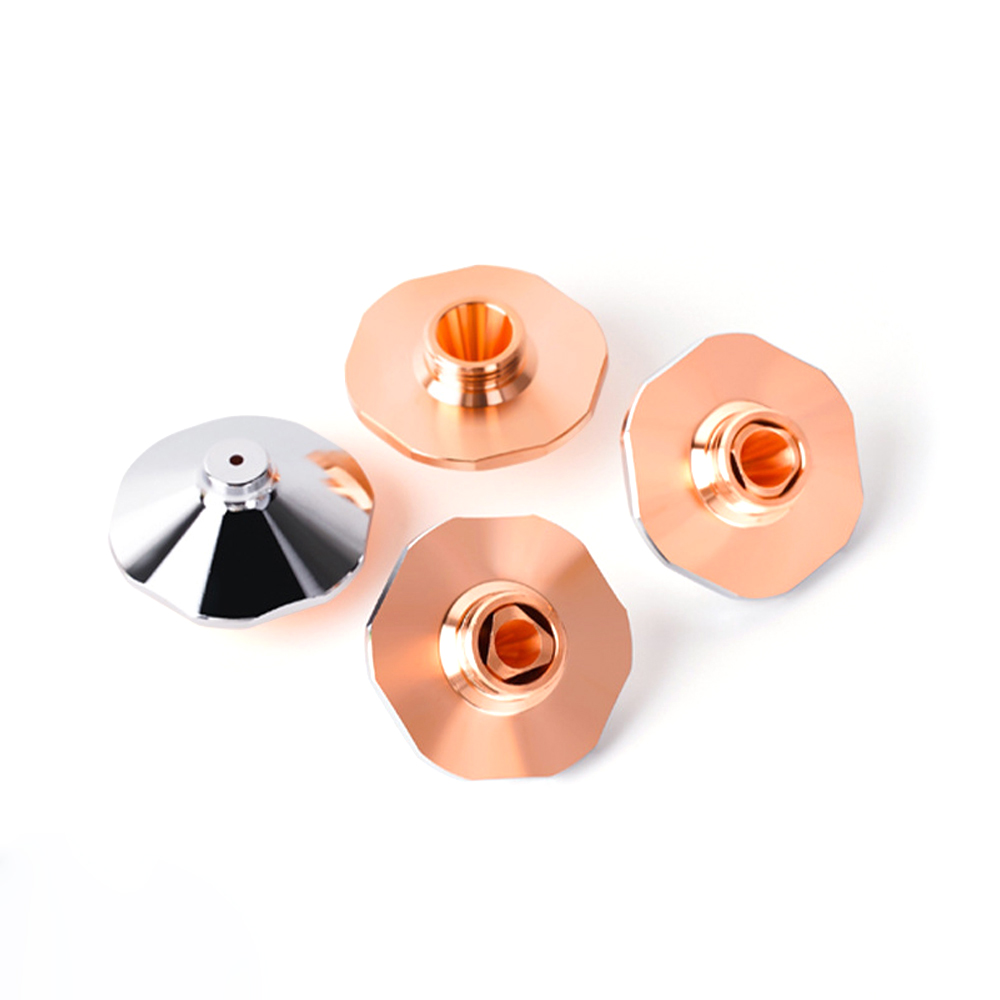
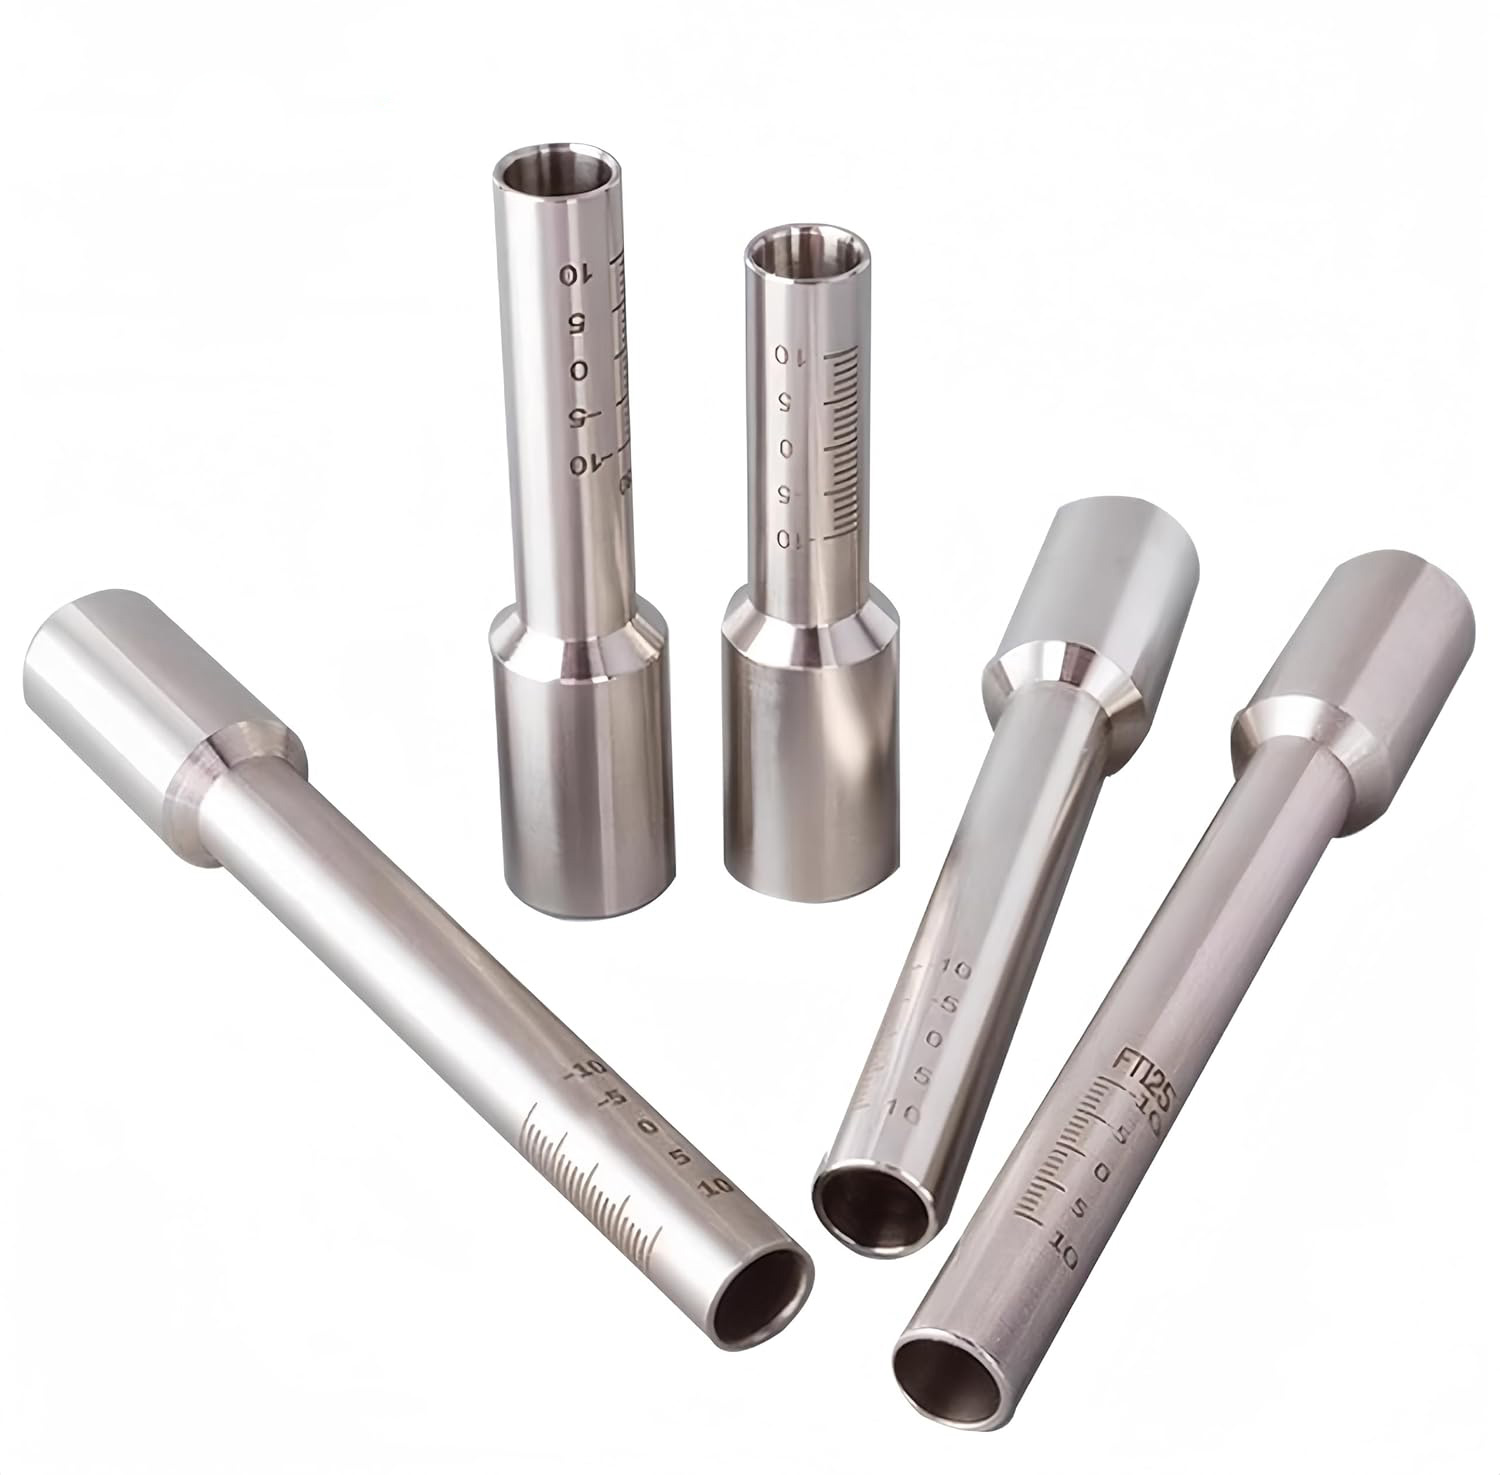
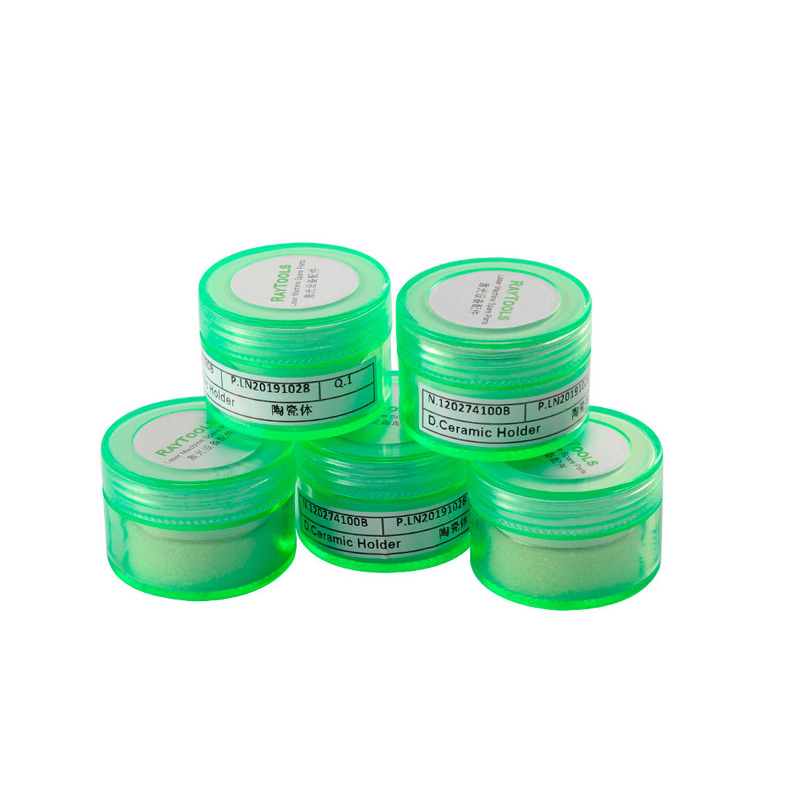
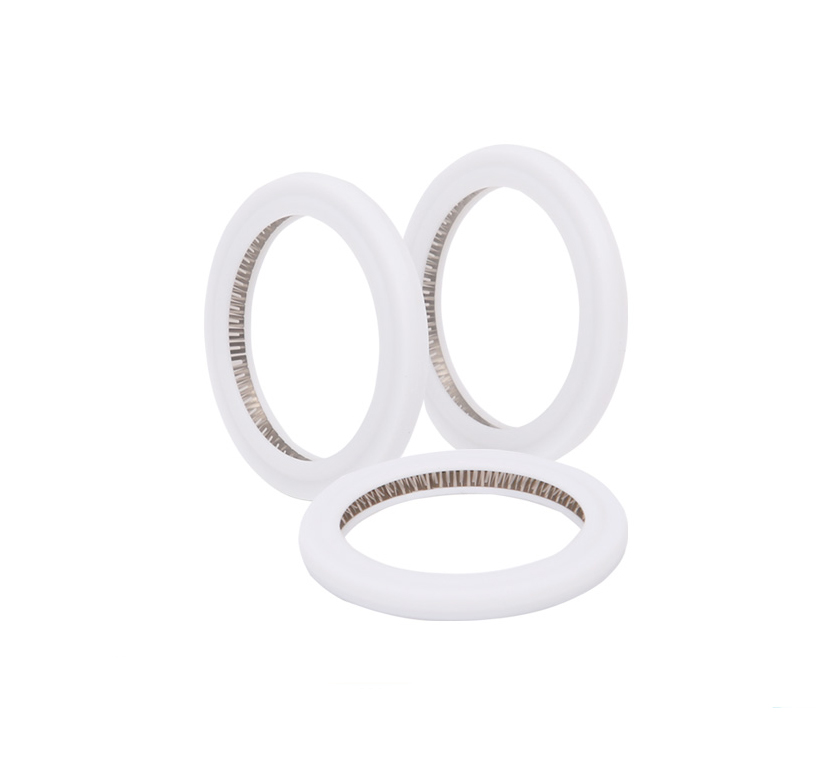
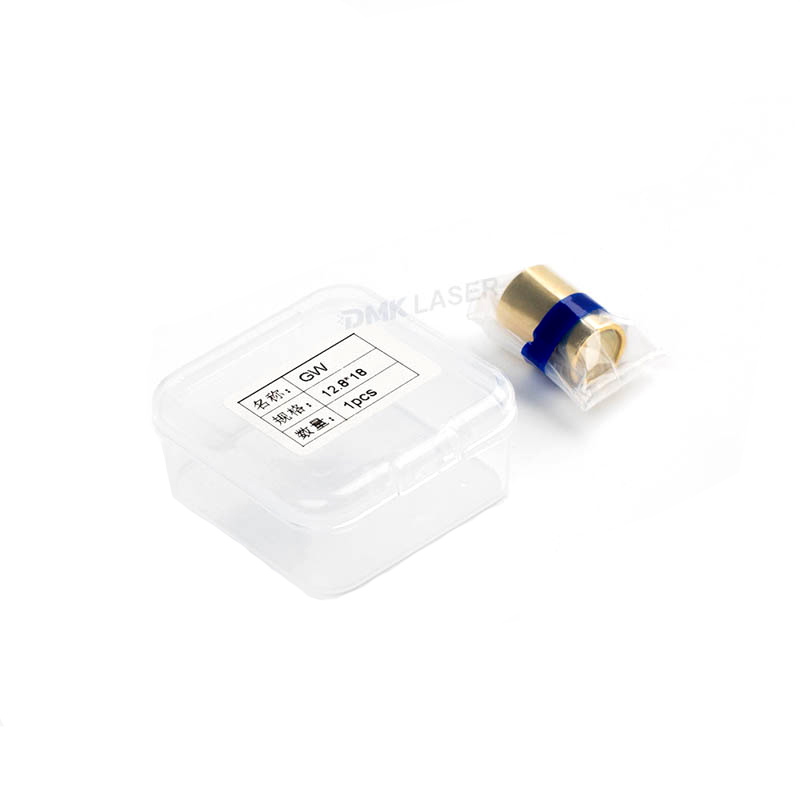
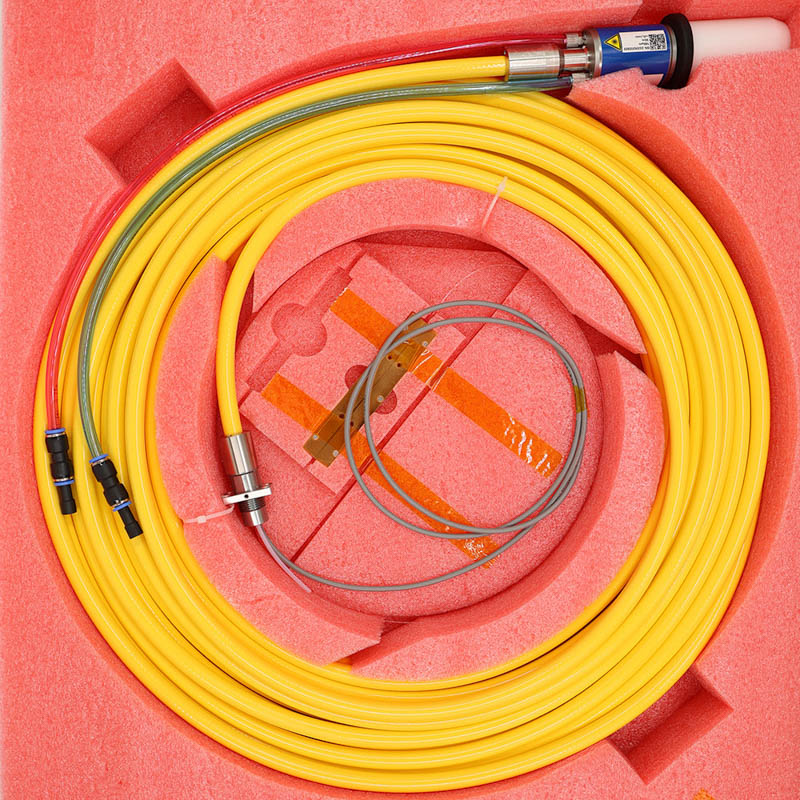
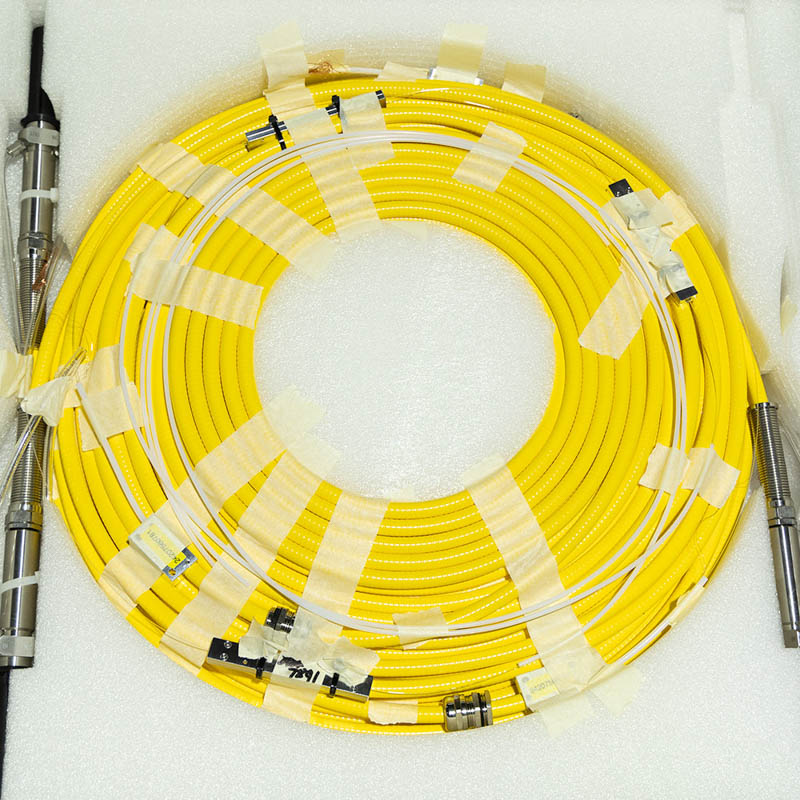
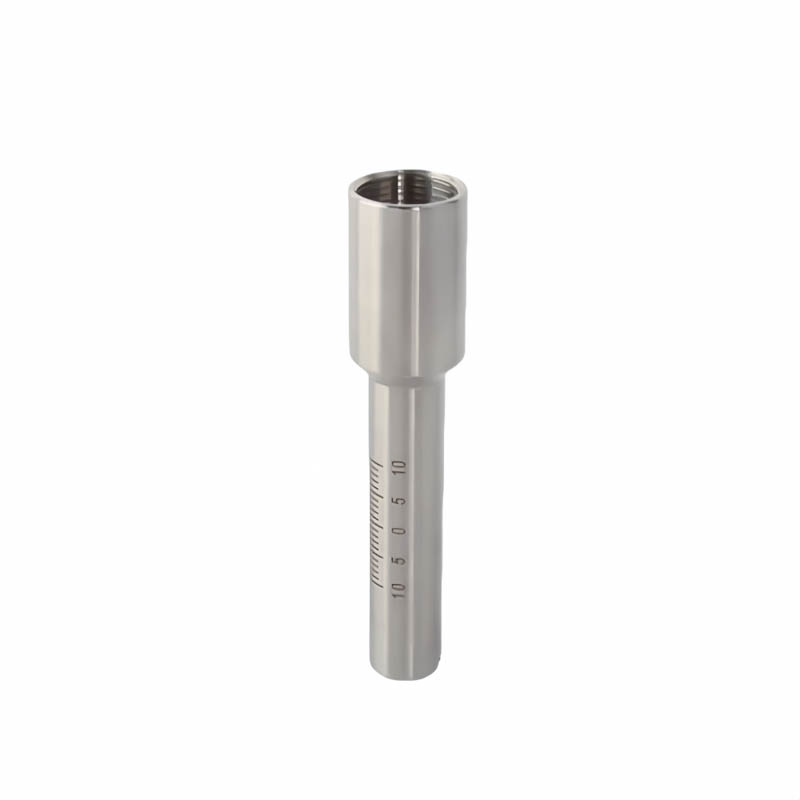
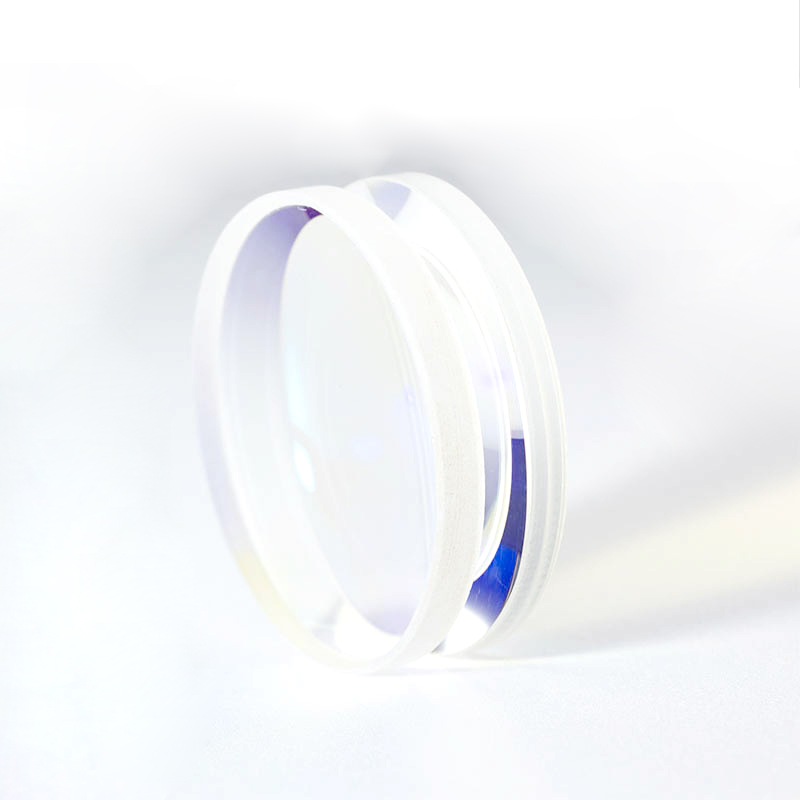
2.Tools and Supplies List
Gather the following supplies in advance, all of which are popular and compatible items in our store:
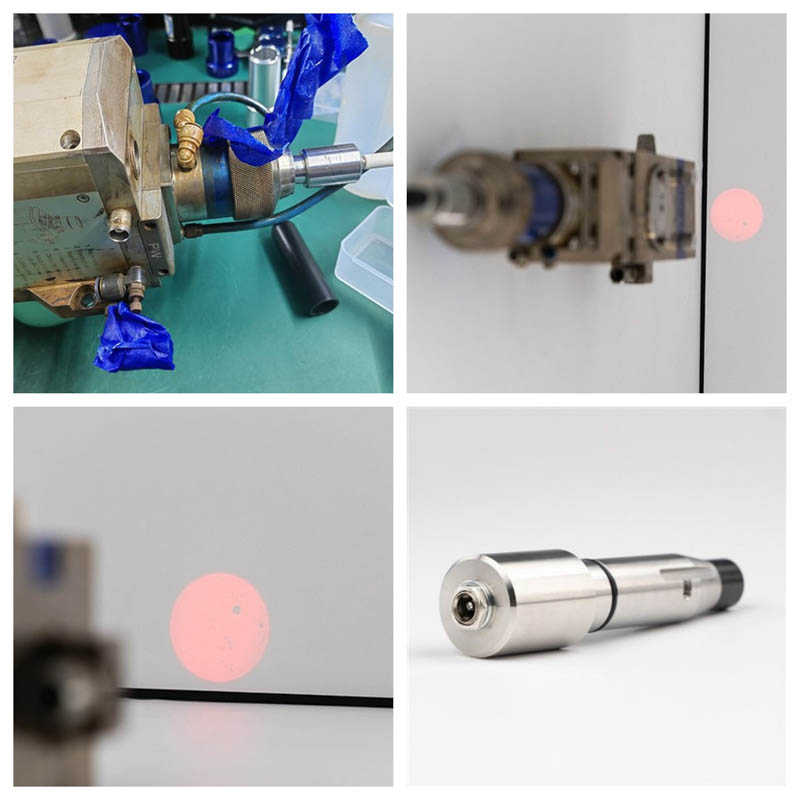
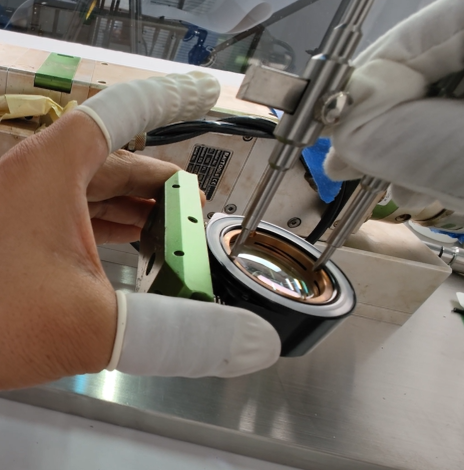
3.Practical steps
4.Notes:
Do not touch the lens surface directly with your fingers during the entire installation process to avoid fingerprints and oil stains.
After cleaning, install the lens within 10 minutes to minimize exposure to air.
We recommend purchasing the correct tools and consumables from the store to avoid maintenance problems due to mismatched specifications.
If you need further guidance, you can contact the store customer service for online technical support, or purchase the store's lens maintenance kit, which includes a full set of tools and consumables to meet daily maintenance needs.
Previous: DMK Laser shines at 2025 FABTECH Metalworking Exhibition in the United States
Next: Core precautions and safety guidelines for using laser welding machines


Your cart is currently empty.
